

RASPBERRY PI AND AMAZON ALEXA…TOGETHER IN A COZY OUTDOOR ENCLOSURE
So what on earth would you do with this combination? You can do two things to be exact, you can make an outdoor weather station using the Raspberry Pi / the Pi Sense Hat and use an Echo Dot to create an outdoor entertainment system connecting her to an outdoor speaker system or Bluetooth speakers to stream your favorite internet radio station. I’ll be honest, this project is not for the faint of heart and there are a few things you’re going to need in order to build this project including some laser cut pieces. But I’ll do my best to highlight what you need and how everything goes together.
WHAT YOU’LL NEED:
- 1X Raspberry Pi 2 or 3 B
- 1X Pi Sense Hat
- 1X Echo Dot
- 1X roll of PLA or stronger filament
- 1X roll of NinjaFlex Cheetah filament
- Laser cut Clear Acrylic Cover / Mount Panel / Bolt Spacers
- Window Screen (For vent / fan opening)
- 1X 25 x 25 x 10MM 5V Fan, no taller than .5″ (.2amps or less)
- 19X M3 Brass Heat Set Inserts
- 15X M3-.5 x 10MM button head screws
- 4X M3-.5 X 20MM Button head screws
- 4X M2.5-.45 x 10MM button head screws
- 4X #6-32 Hex Machine Screw Nuts
- 2X #6-32 x 1/2 Hex Head Screws
- 2X #6-32 x 1/2″ Philip Head Screws
- 2X 1/4″ Hex Nuts
- 2X 1/4″ x 1″ Button Head Machine Screws
3D PRINTING BILL OF MATERIALS:
- 2X PI_ENCLOSURE_6-32-HEX-THUMB-SCREW – PLA OR EQUIV FILAMENT
- 2X PI_ENCLOSURE_6-32-HEX-THUMB-SCREW-CAP – PLA OR EQUIV FILAMENT
- 1X PI_ENCL_MAIN_BODY – PLA OR EQUIV FILAMENT
- 1X PI_ENCL_COVER_GASKET – NINJAFLEX CHEETAH
- 2X PI_ENCL_HINGE – PLA OR EQUIV FILAMENT
- 1X PI_ENCL_RASPI-MOUNT-BRKT – PLA OR EQUIV FILAMENT
- 1X PI_ENCL_ECHO_BRKT – PLA OR EQUIV FILAMENT
- 1X PI_ENCL_FAN_LOUVRE – PLA OR EQUIV FILAMENT
- 1X PI_ENCL_VENT_GASKET – NINJAFLEX CHEETAH
- 1X PI_ENCL_CORD_GROMMET – NINJAFLEX CHEETAH
LASER CUT BILL OF MATERIALS (CLEAR ACRYLIC):
- 1X PI_ENCL_MOUNT_PLATE (CAN ALSO BE 3D PRINTED)
- 1X PI_ENCL_COVER (SHOULD BE LASER CUT FROM CLEAR ACRYLIC)
- 4X PI_ENCL_M2.5-SPACER (CAN ALSO BE 3D PRINTED)
- 4X PI_ENCL_M3-SPACER (CAN ALSO BE 3D PRINTED)
- 2X PI_ENCL-6-32-SPACER (SOMEWHAT OPTIONAl FOR 6-32 HEX THUMB SCREWS TO KEEP ACRYLIC COVER FROM CRACKING)
ASSEMBLY:

M3 Brass Inserts
On the Main body there are 12x M3 brass inserts, 4X on the mount panel, 4X for the bottom vent opening / 4X for the fan in the side.
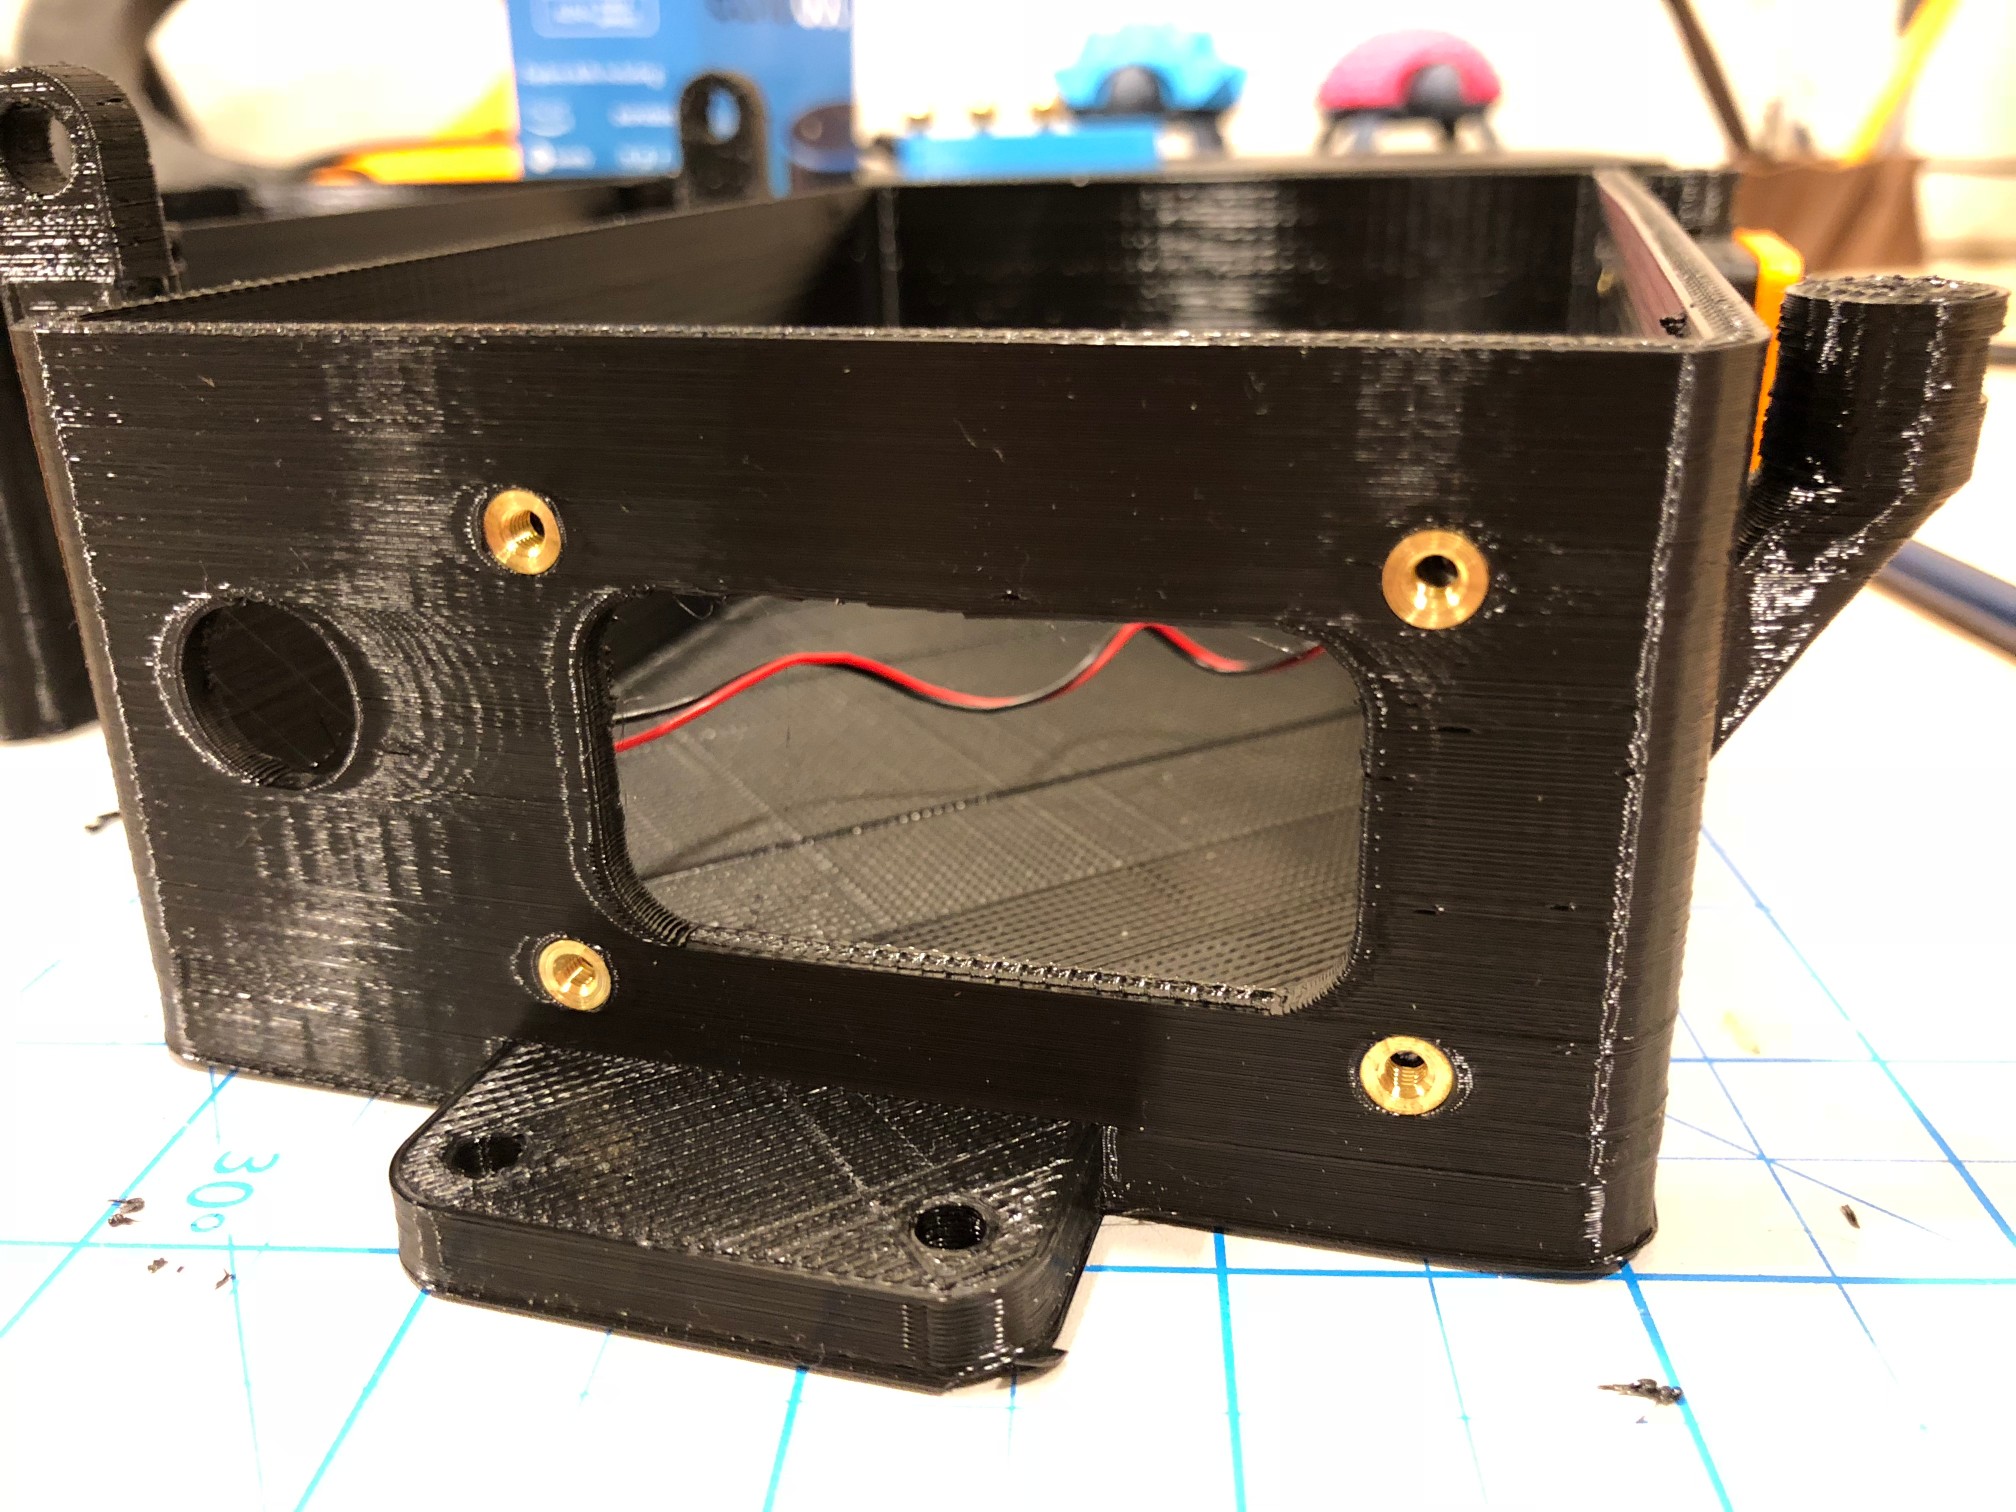
M3 Inserts – Bottom
Install Bottom Vent
Cut a piece of window screen and install vent using M3 x 10mm screws

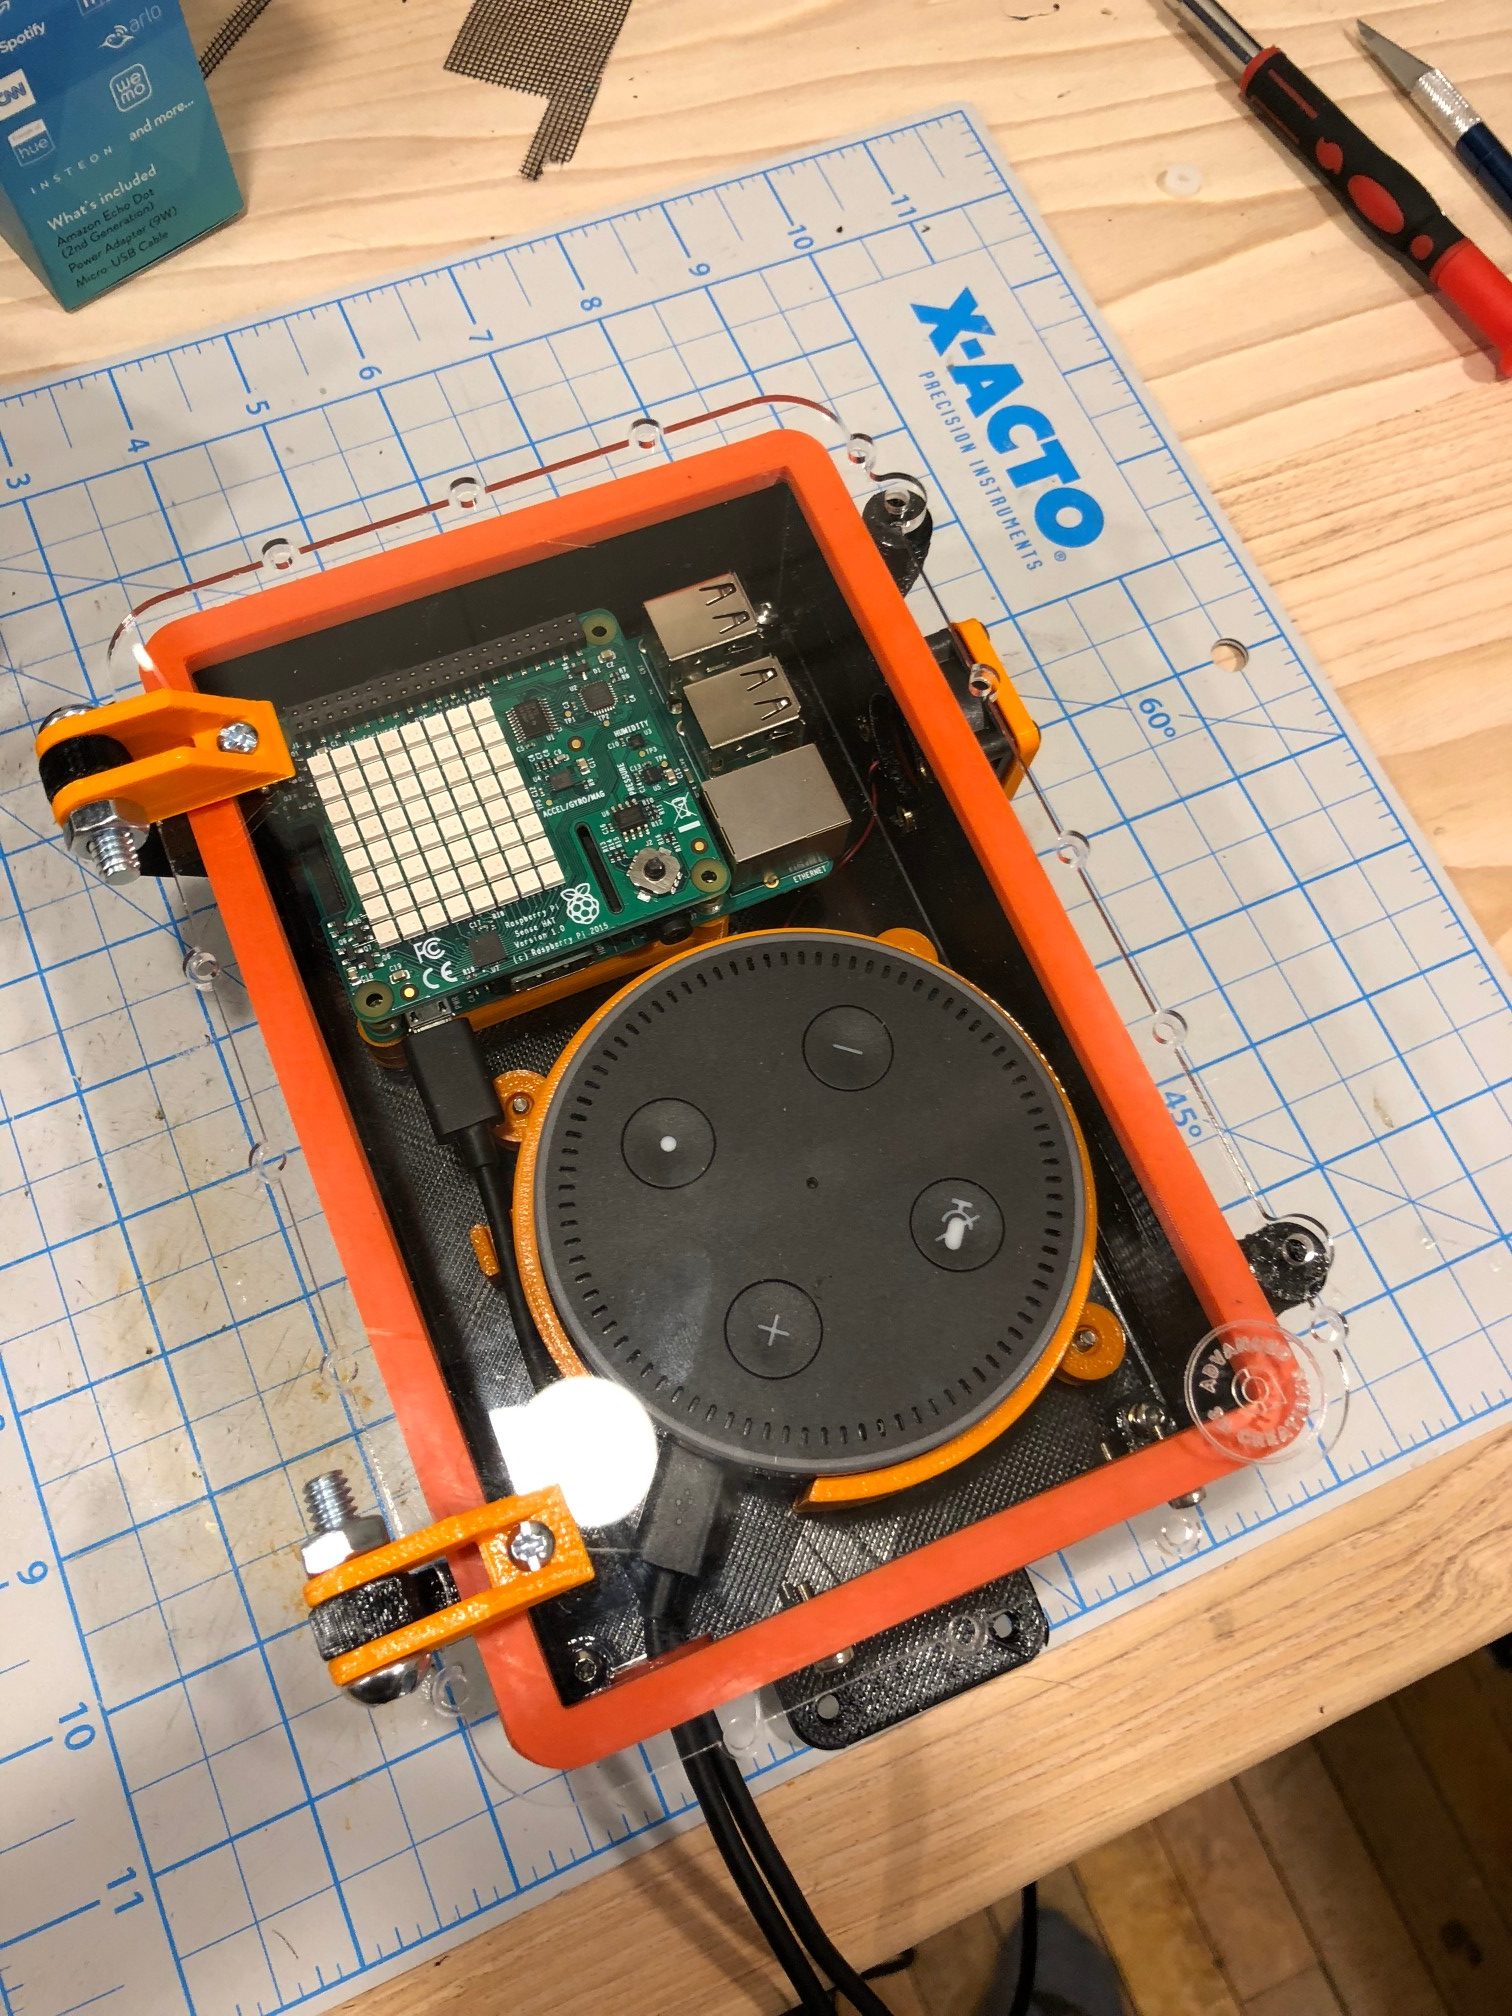
Secure Raspberry Pi
Secure the Raspberry Pi using the M2.5 x 10mm screws and M2.5 spacers
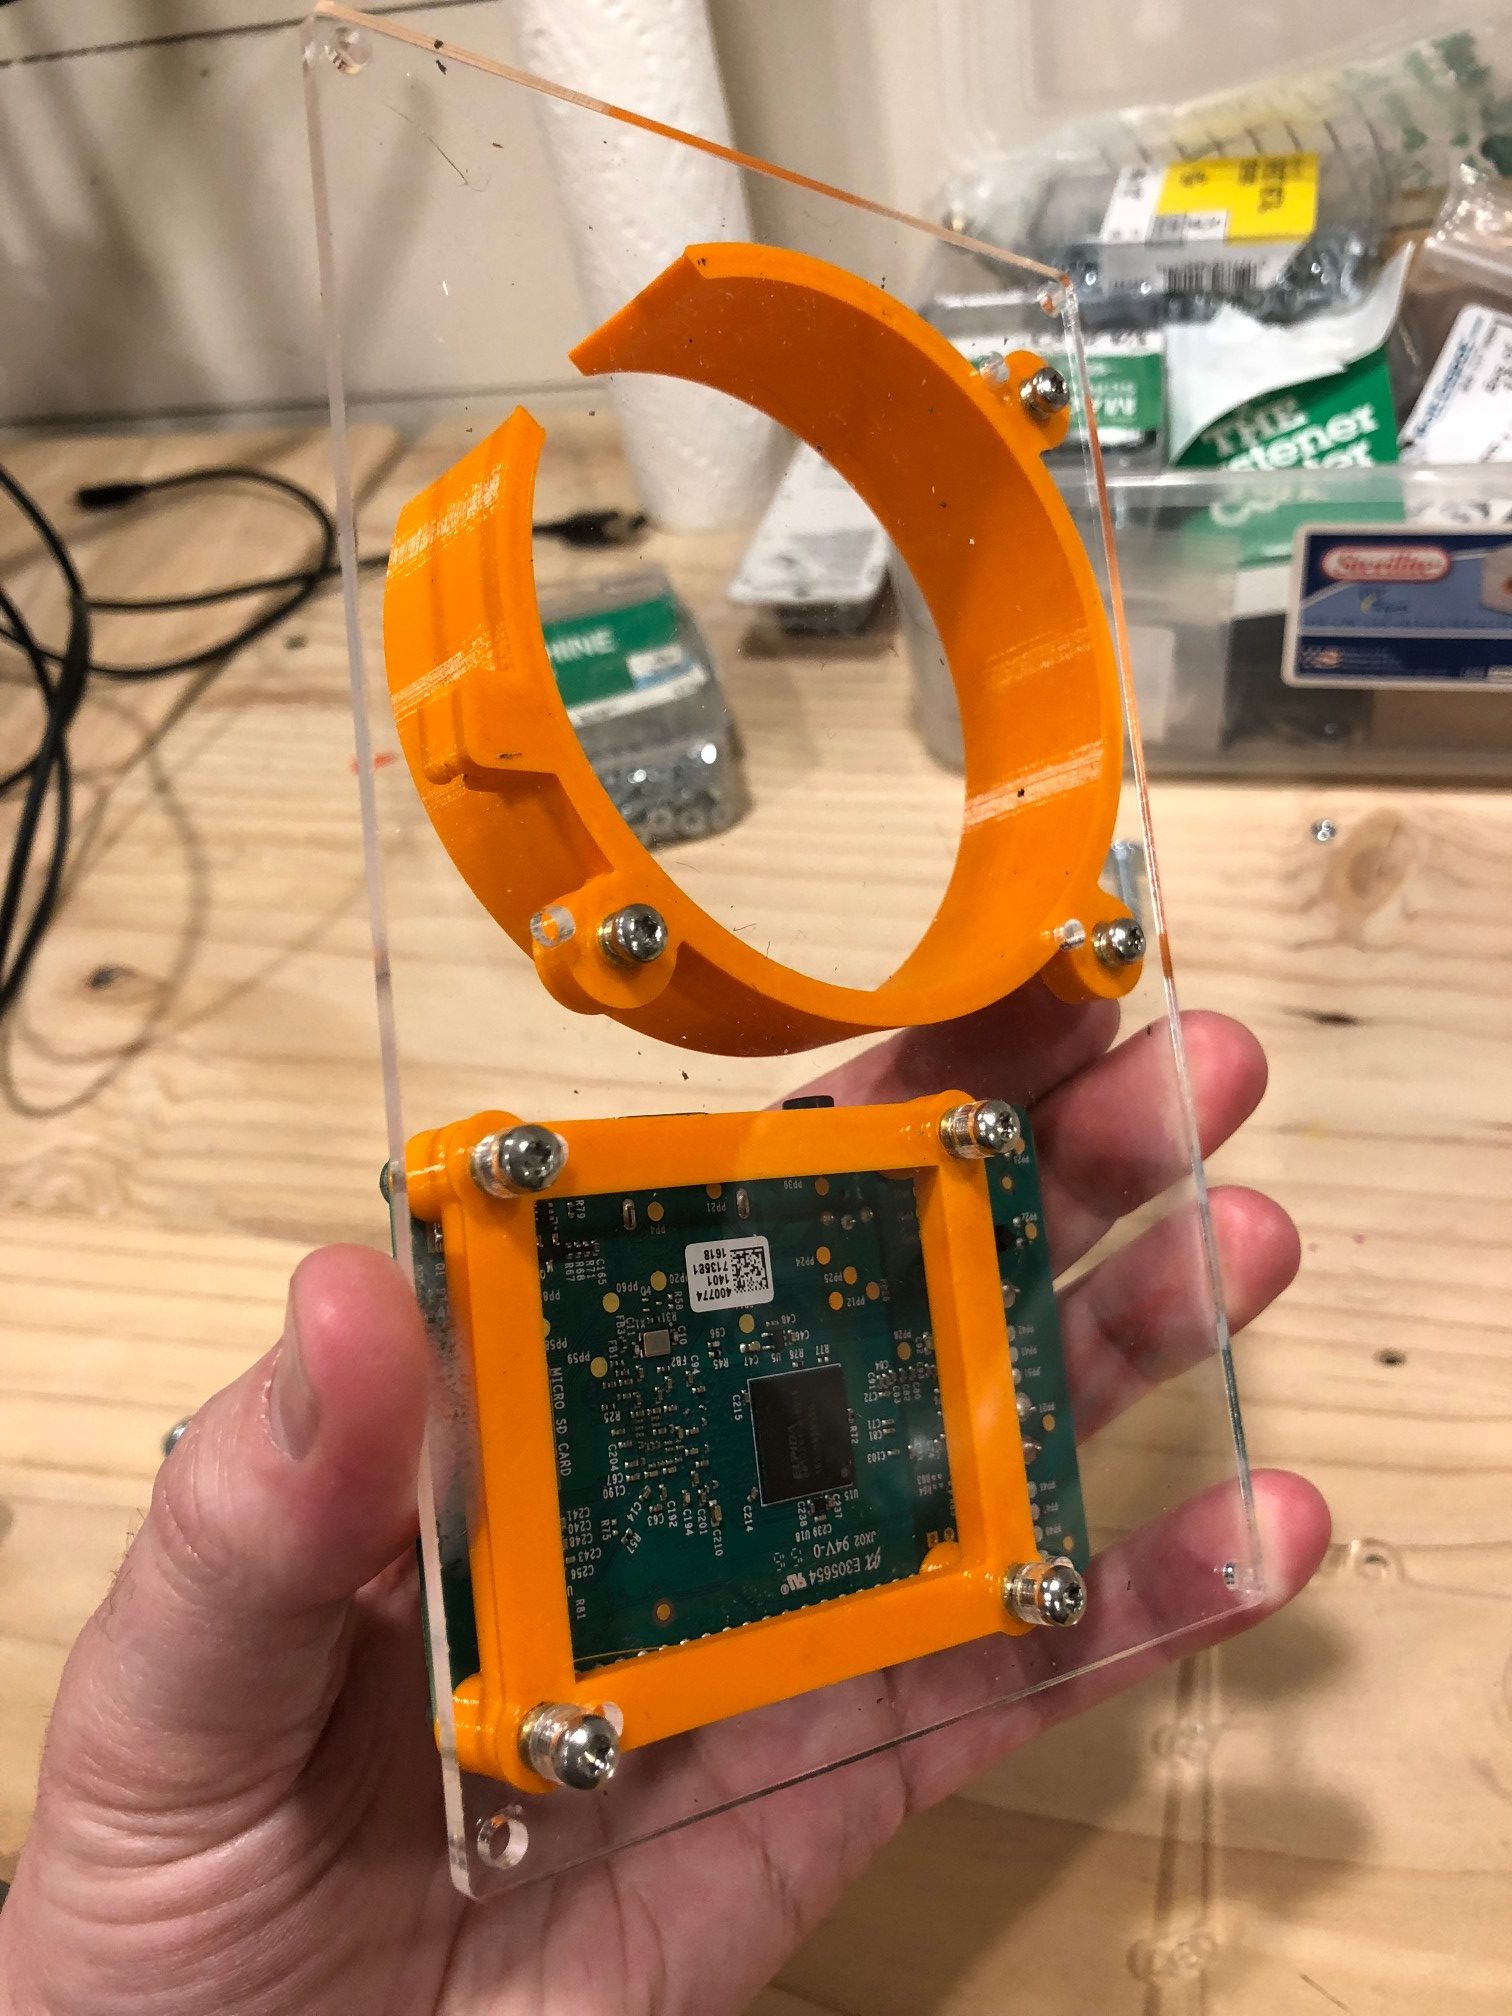
Install Brackets to Mount Plate
Install M3 Brass inserts on the bottom of the Pi bracket / Echo bracket and using the M3 spacers secure raspberry pi bracket and the echo bracket to the mount plate using M3 x 10mm screws
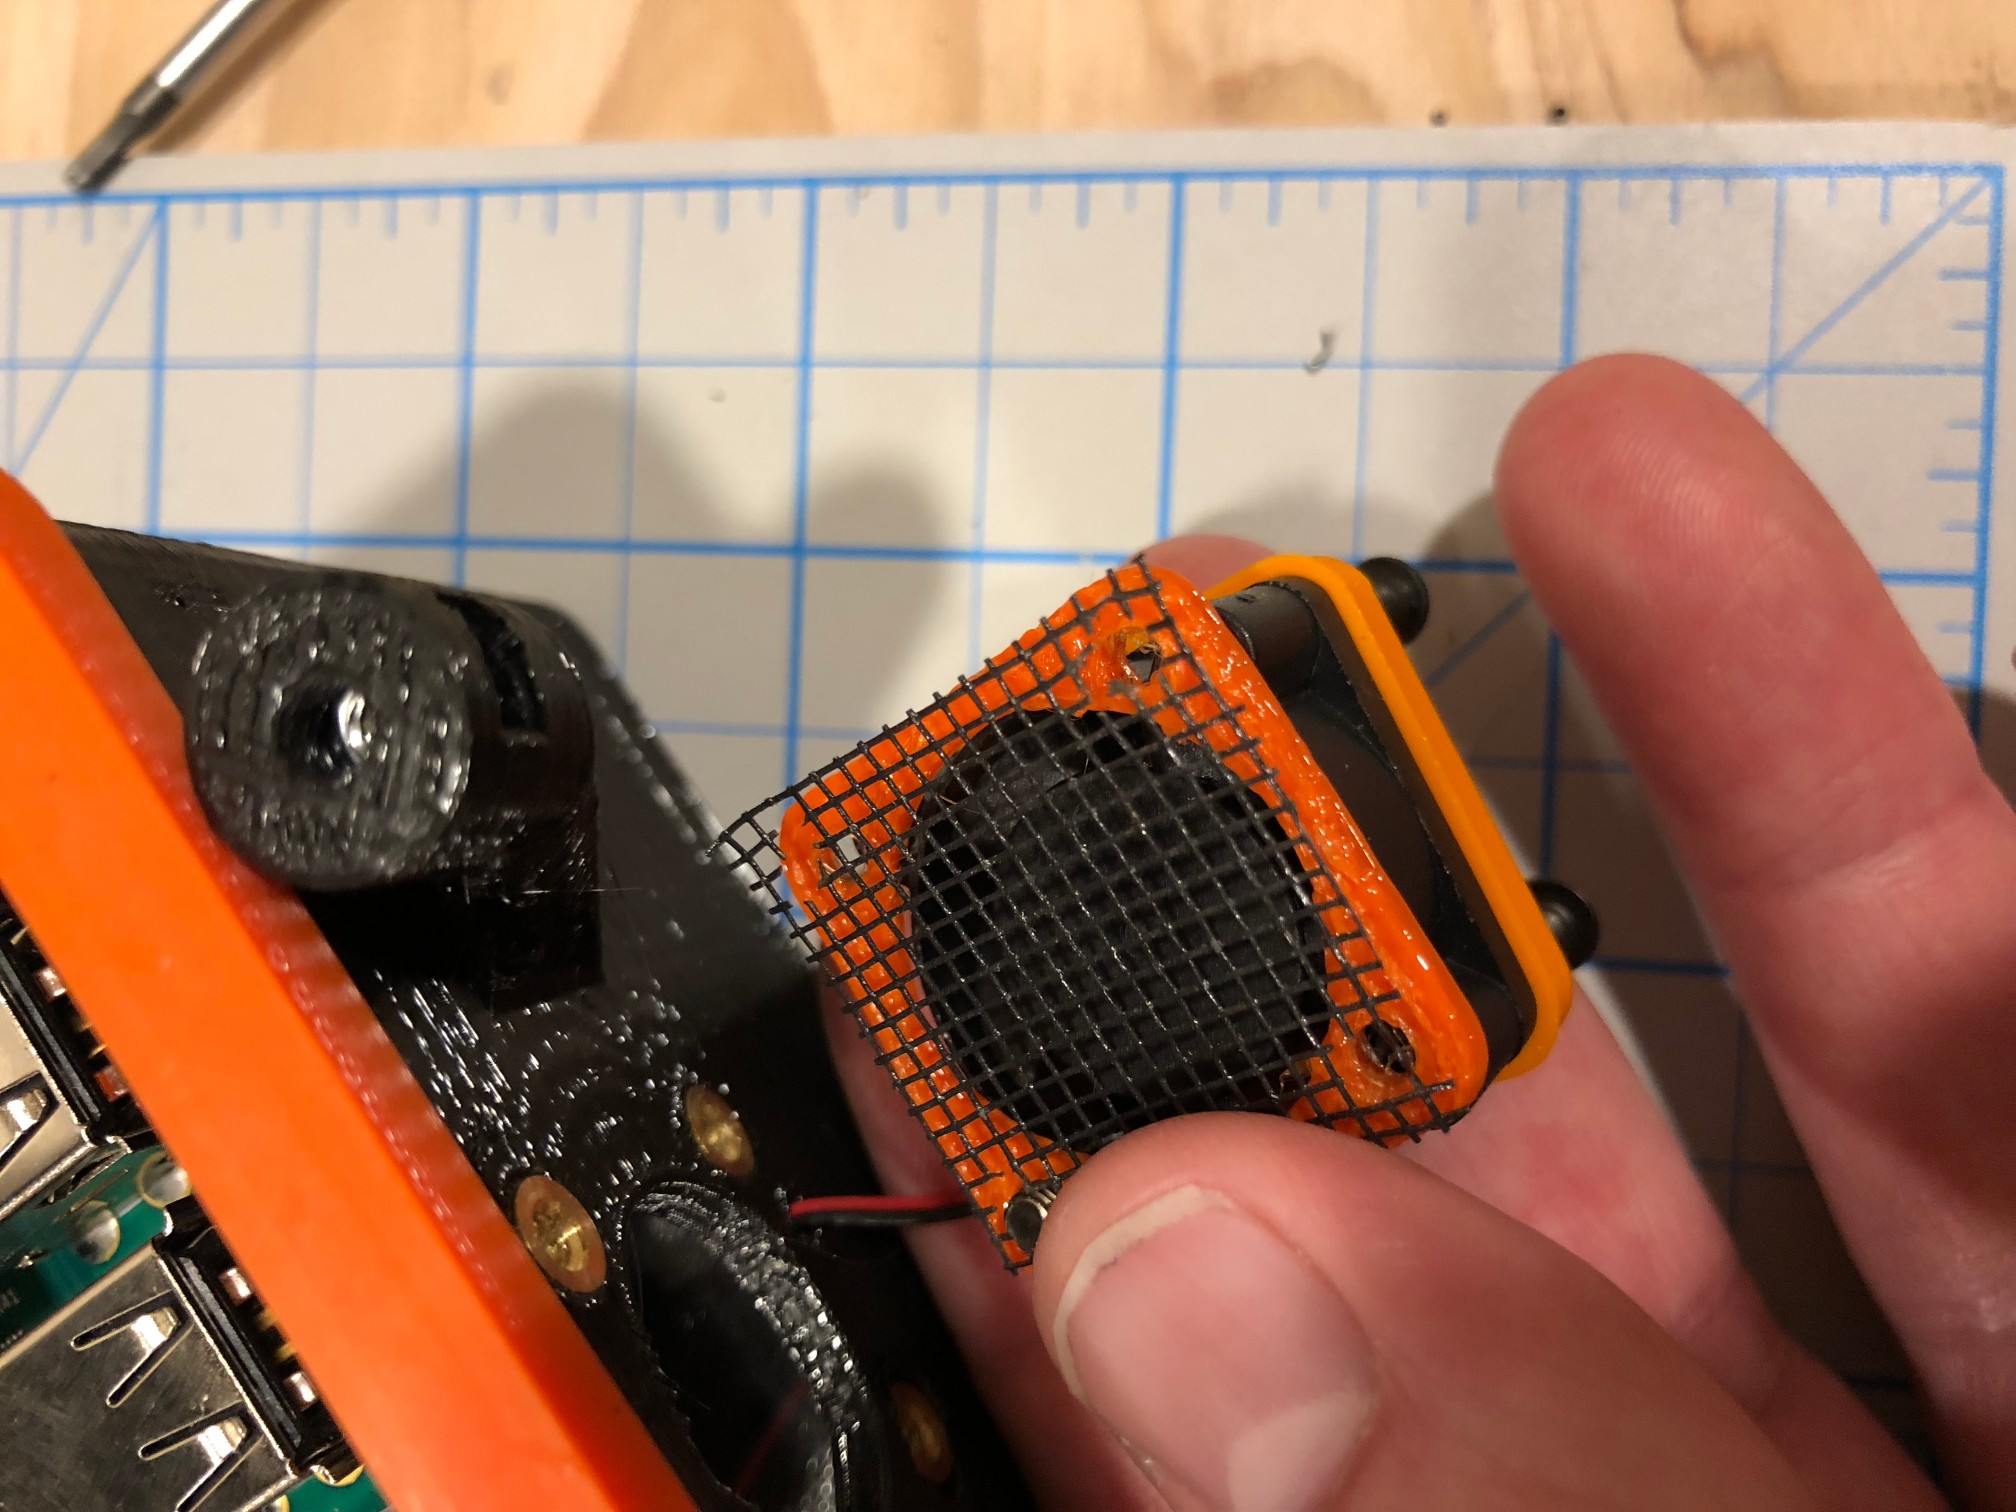
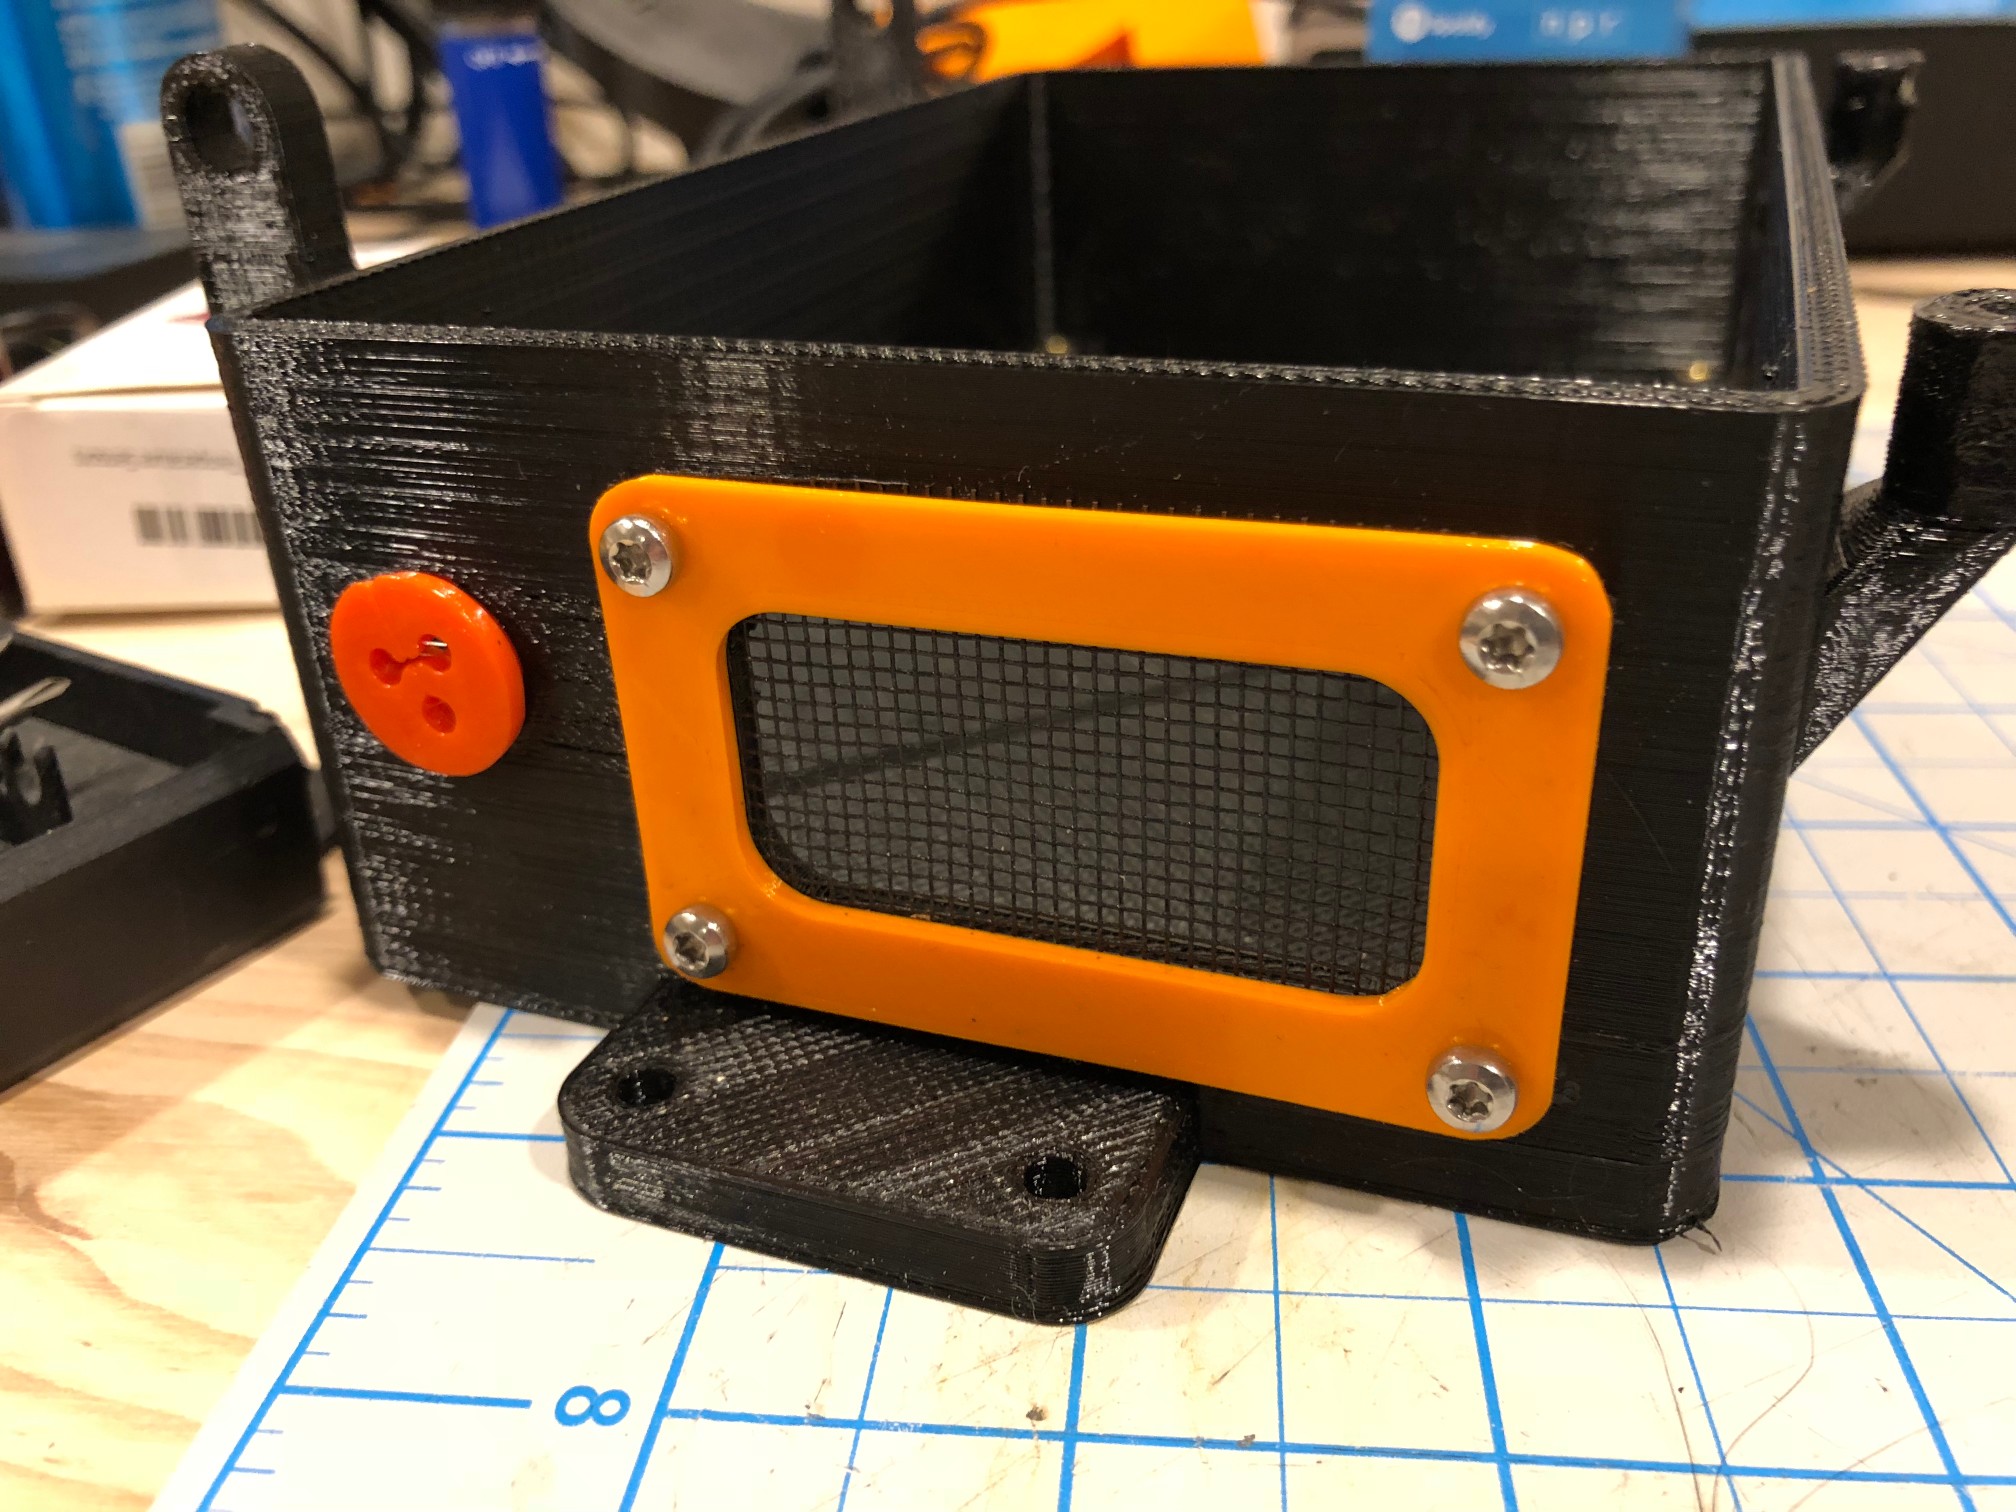
Install Fan
Cut a small piece of window screen around the gasket, put the fan and the louvre all in that order. Install with M3 x 20mm screws push the wire through the enclosure body using the smaller hole provided
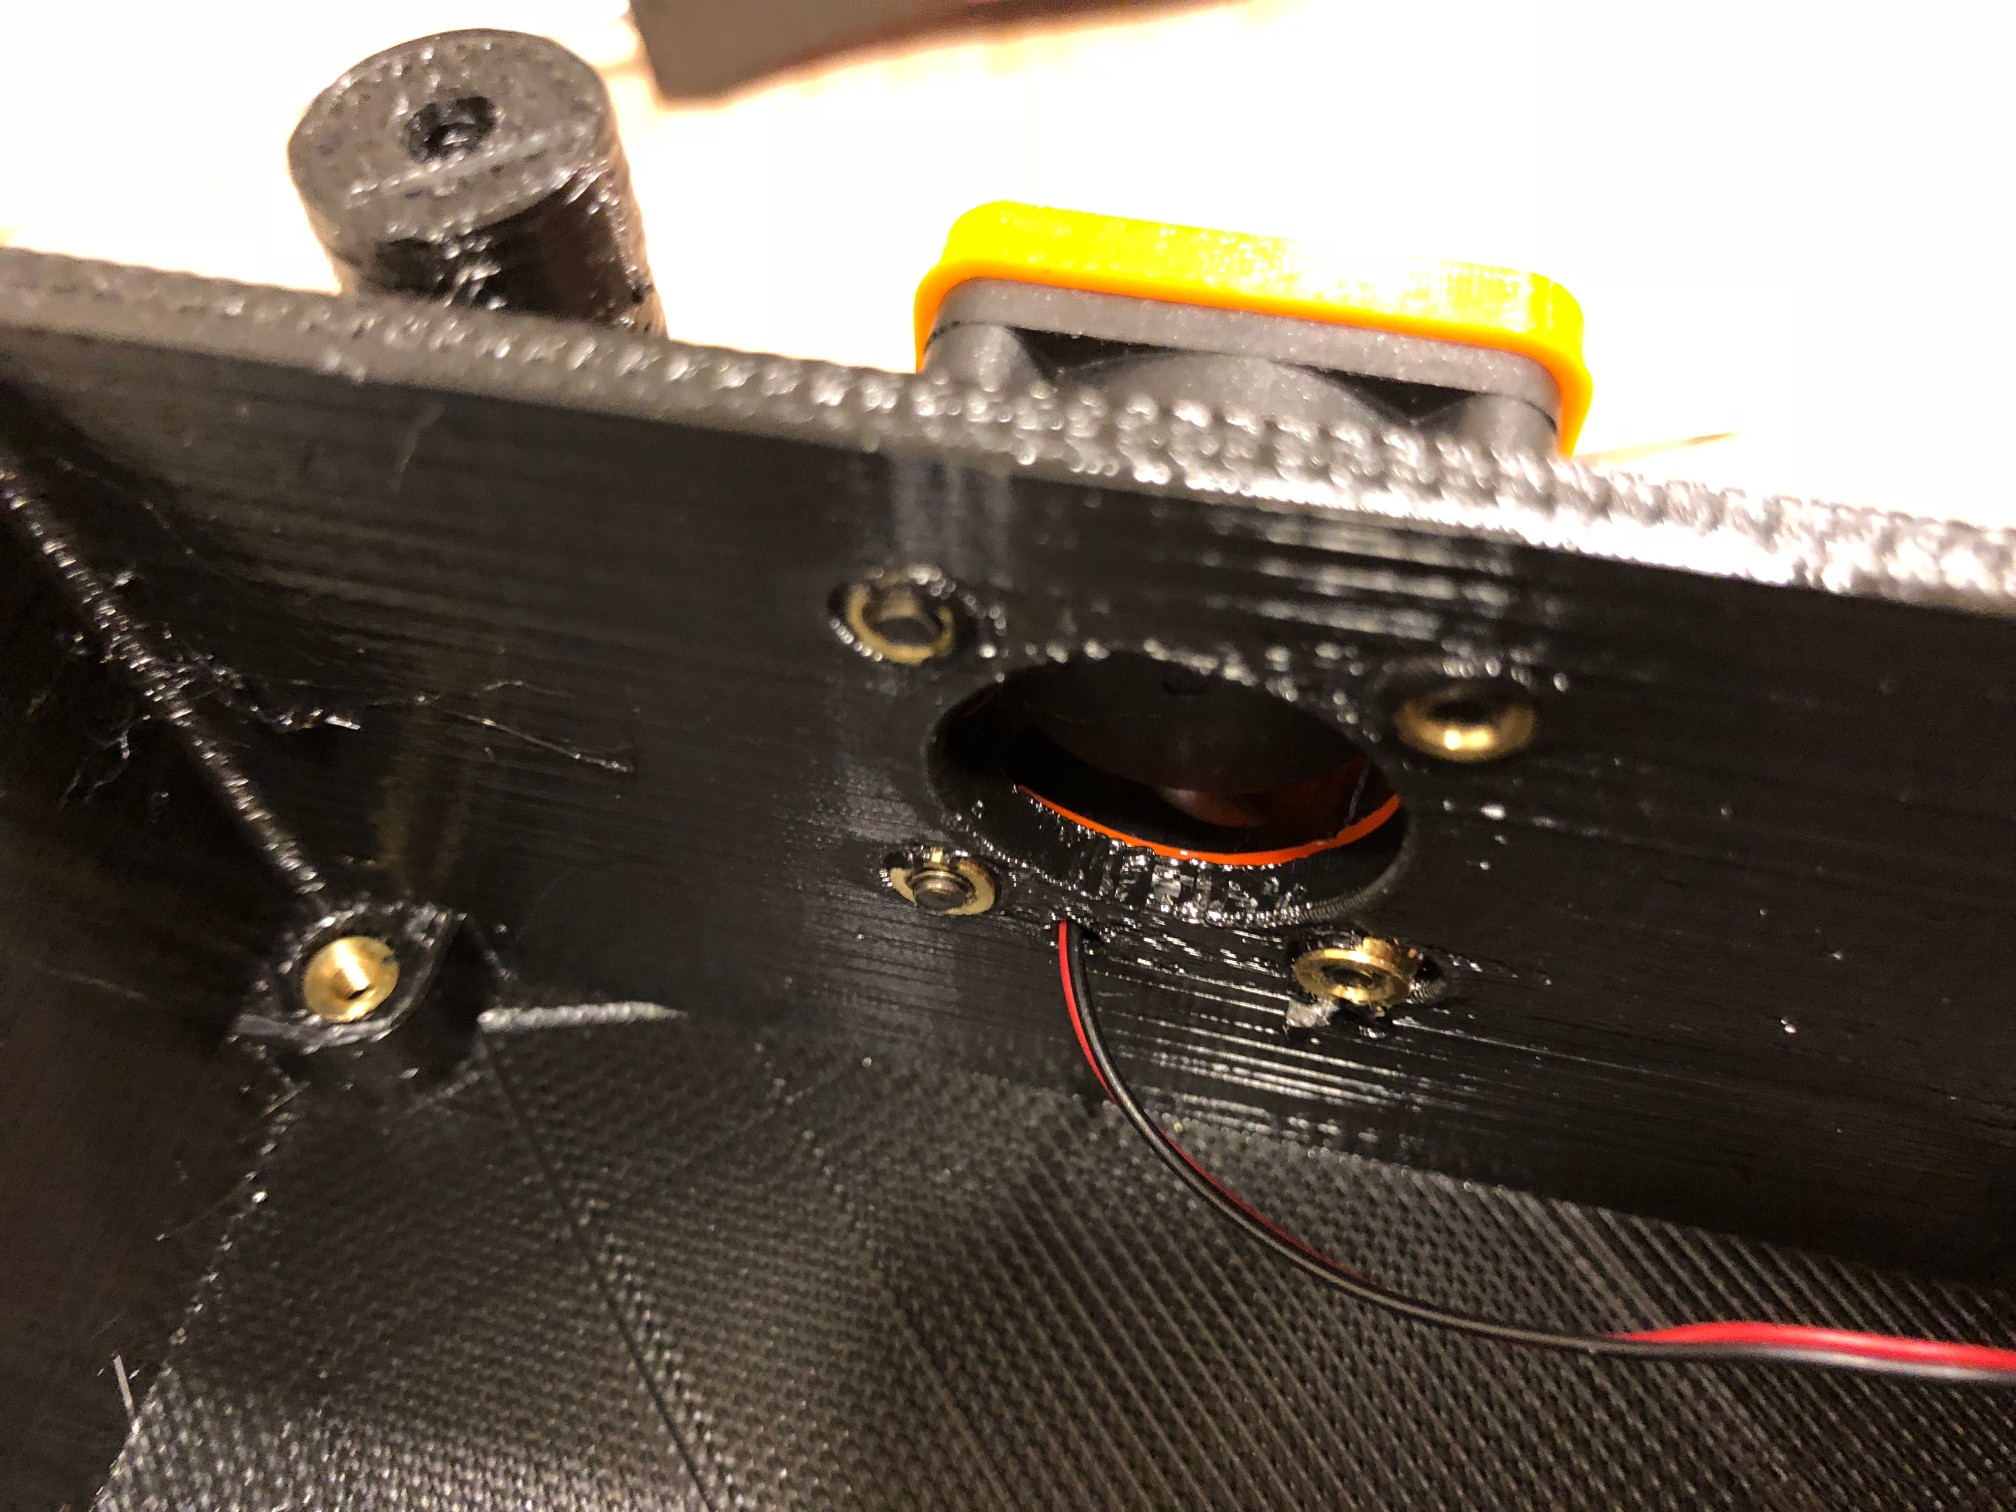
M3 Inserts – Fan
Push the wire thru the provided hole in the enclosure

Fan Installed
This is how the fan should look after installation maker sure the louvre blades point down
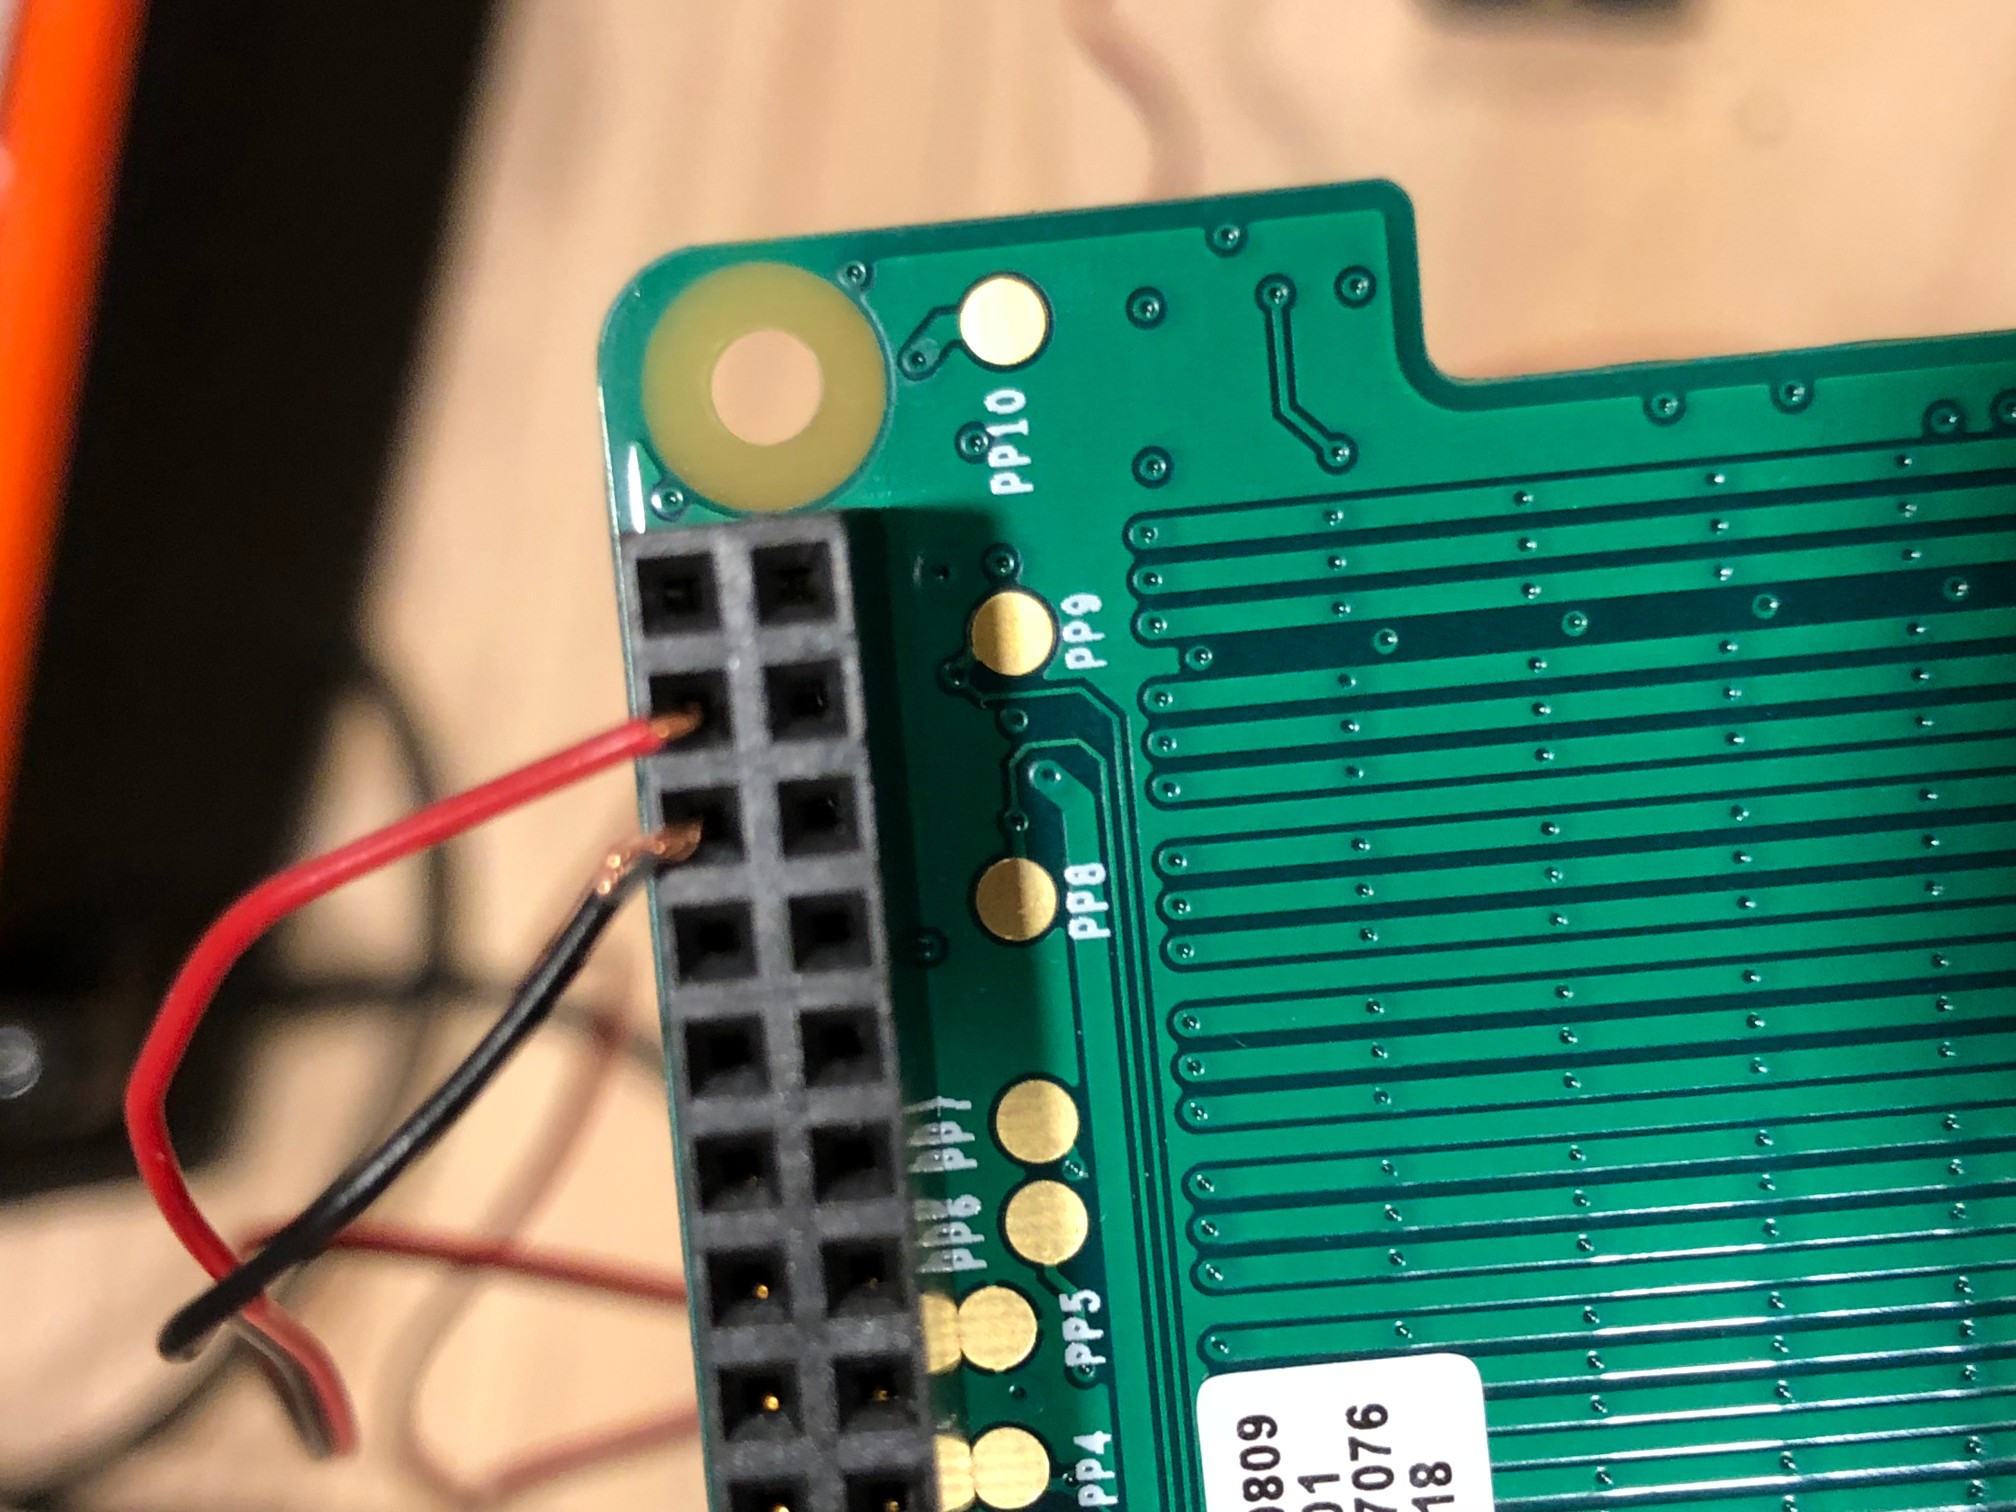
Wire Vent Fan
Attach the wires into the Pi-Sense Hat
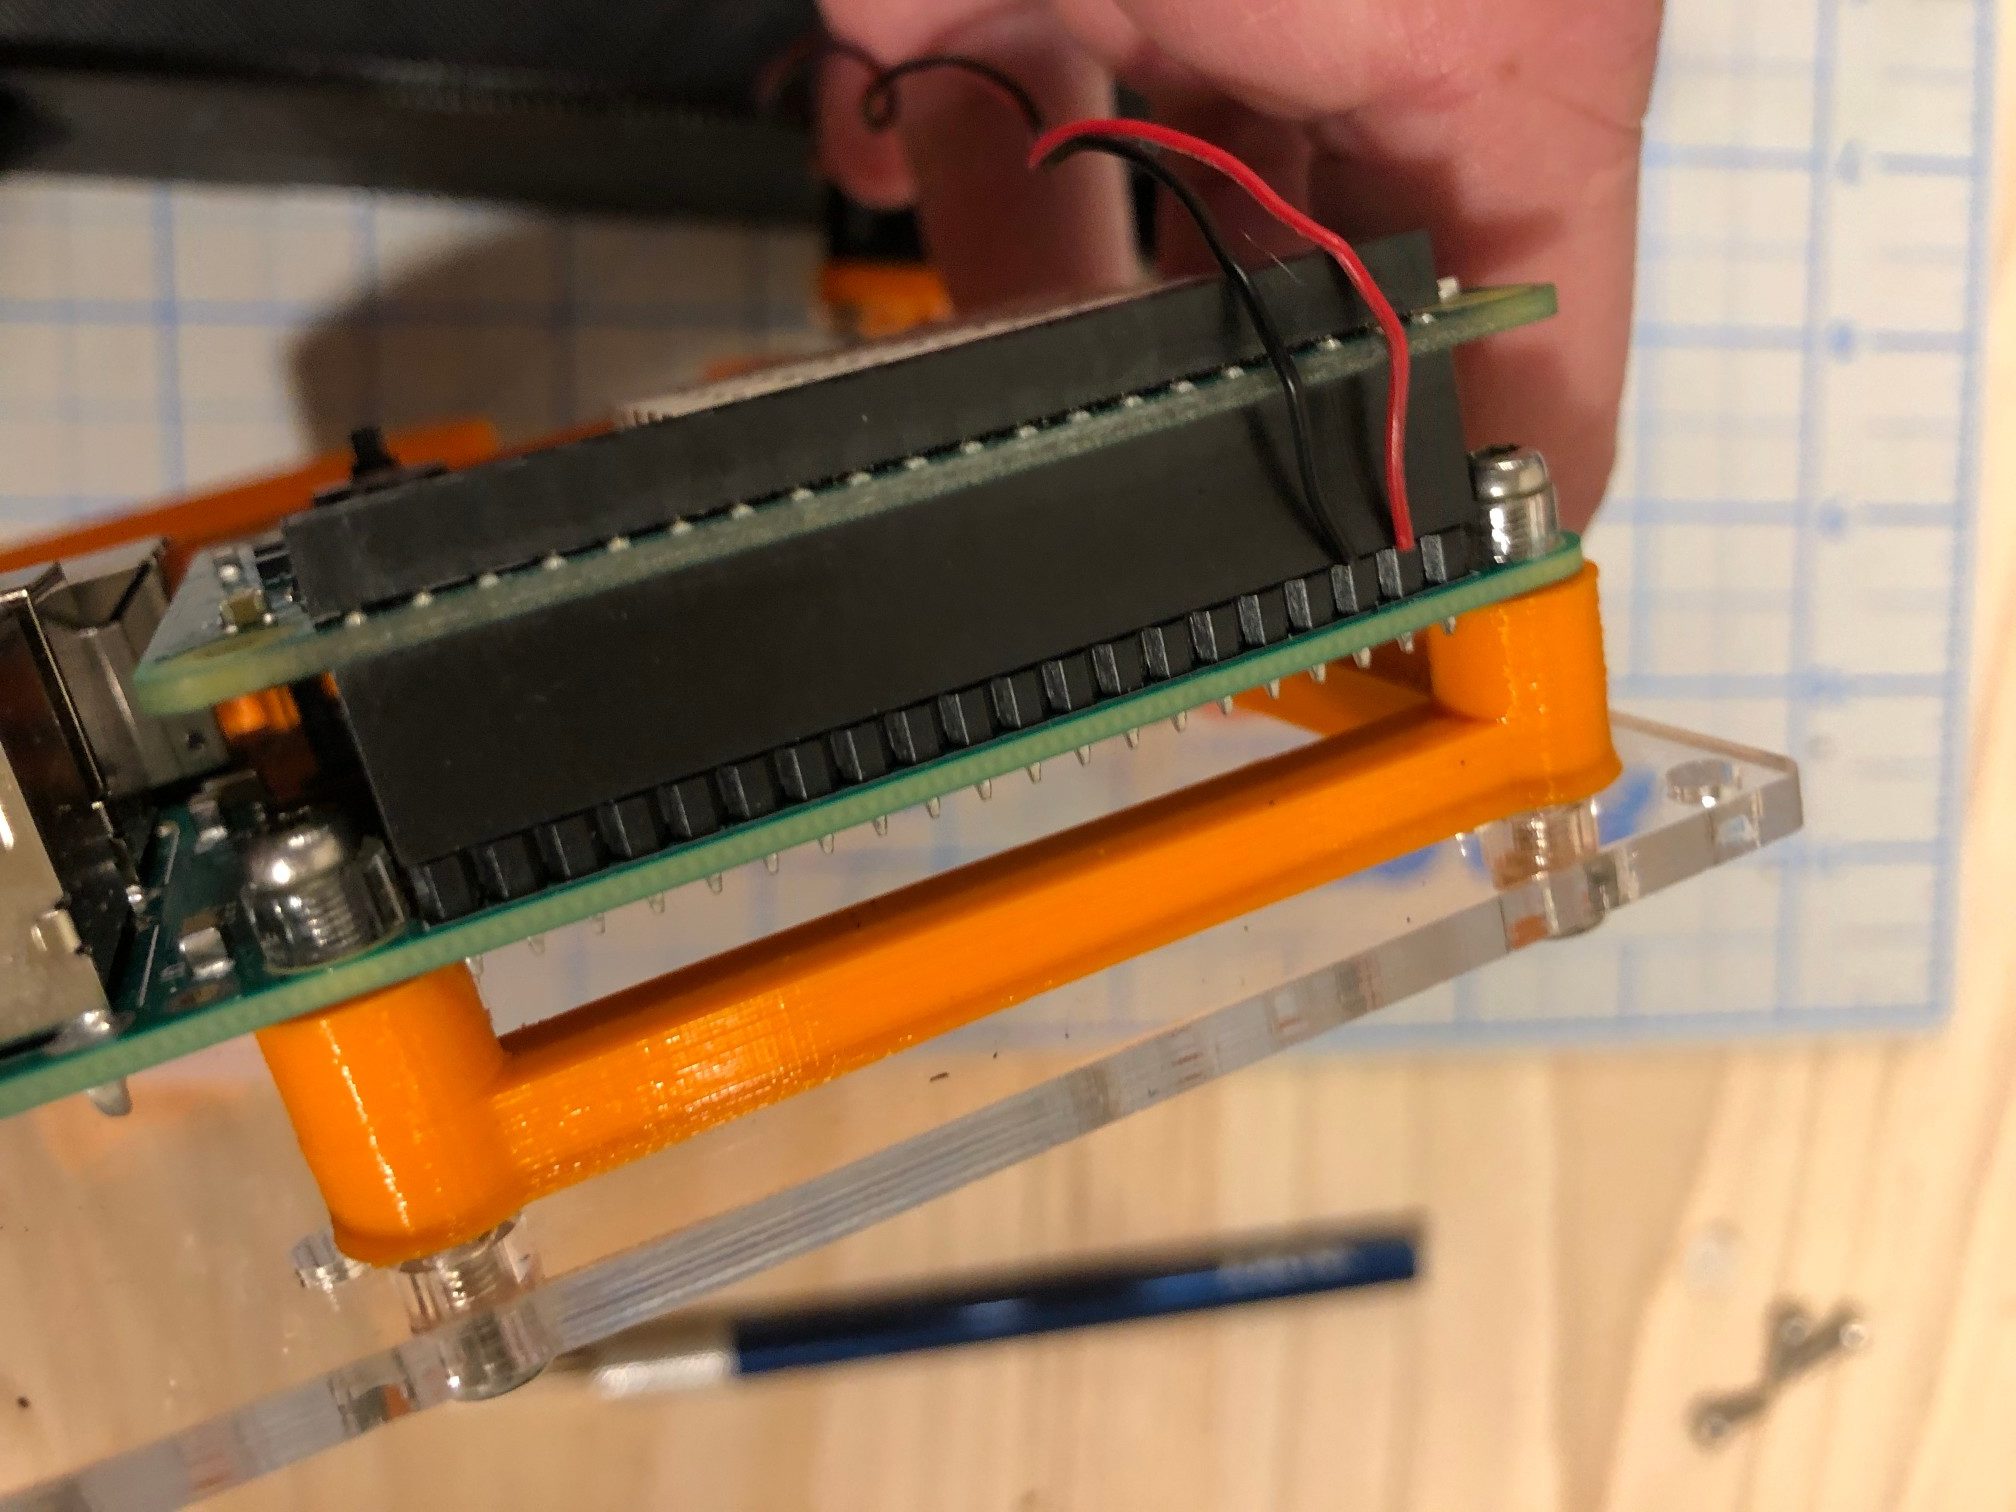
Install Sense Hat
Install the Raspberry PI Sense Hat on Top

Install Mount Plate
Push the fan wire underneath the mount plate and secure with M3 x 10mm screws

Attach Power Cords
Attach power cords to the Raspberry Pi / Echo making sure to install the cable grommet and securing into the enclosure
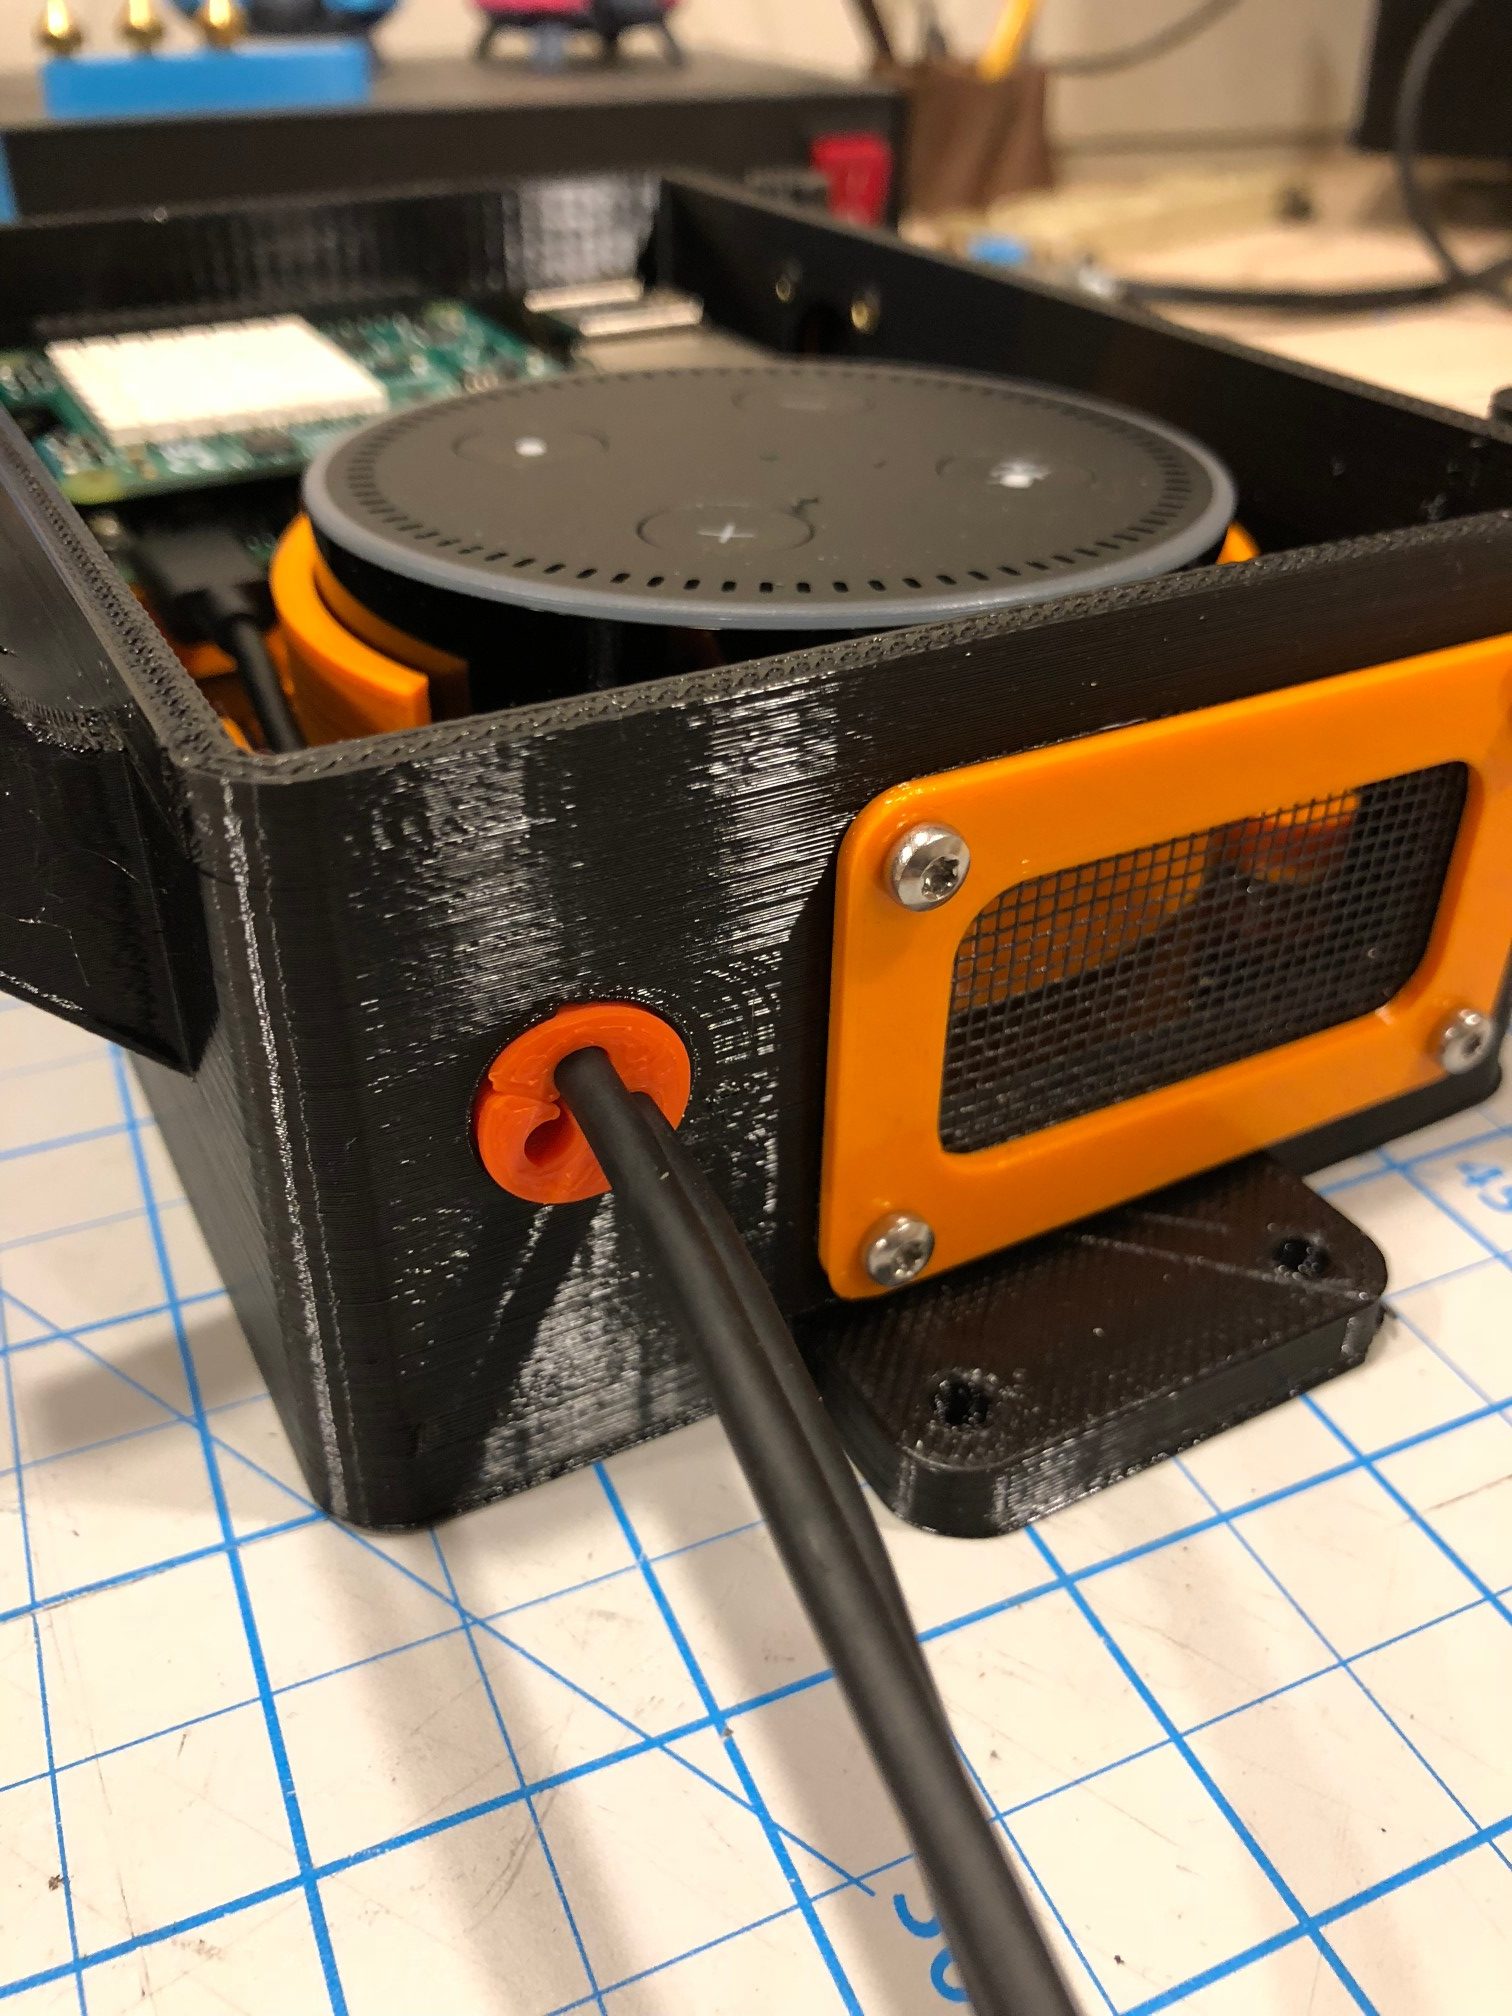
Cable Grommet Installed
The Flanged part of the grommet should be to the inside of the enclosure so it can’t pull out.
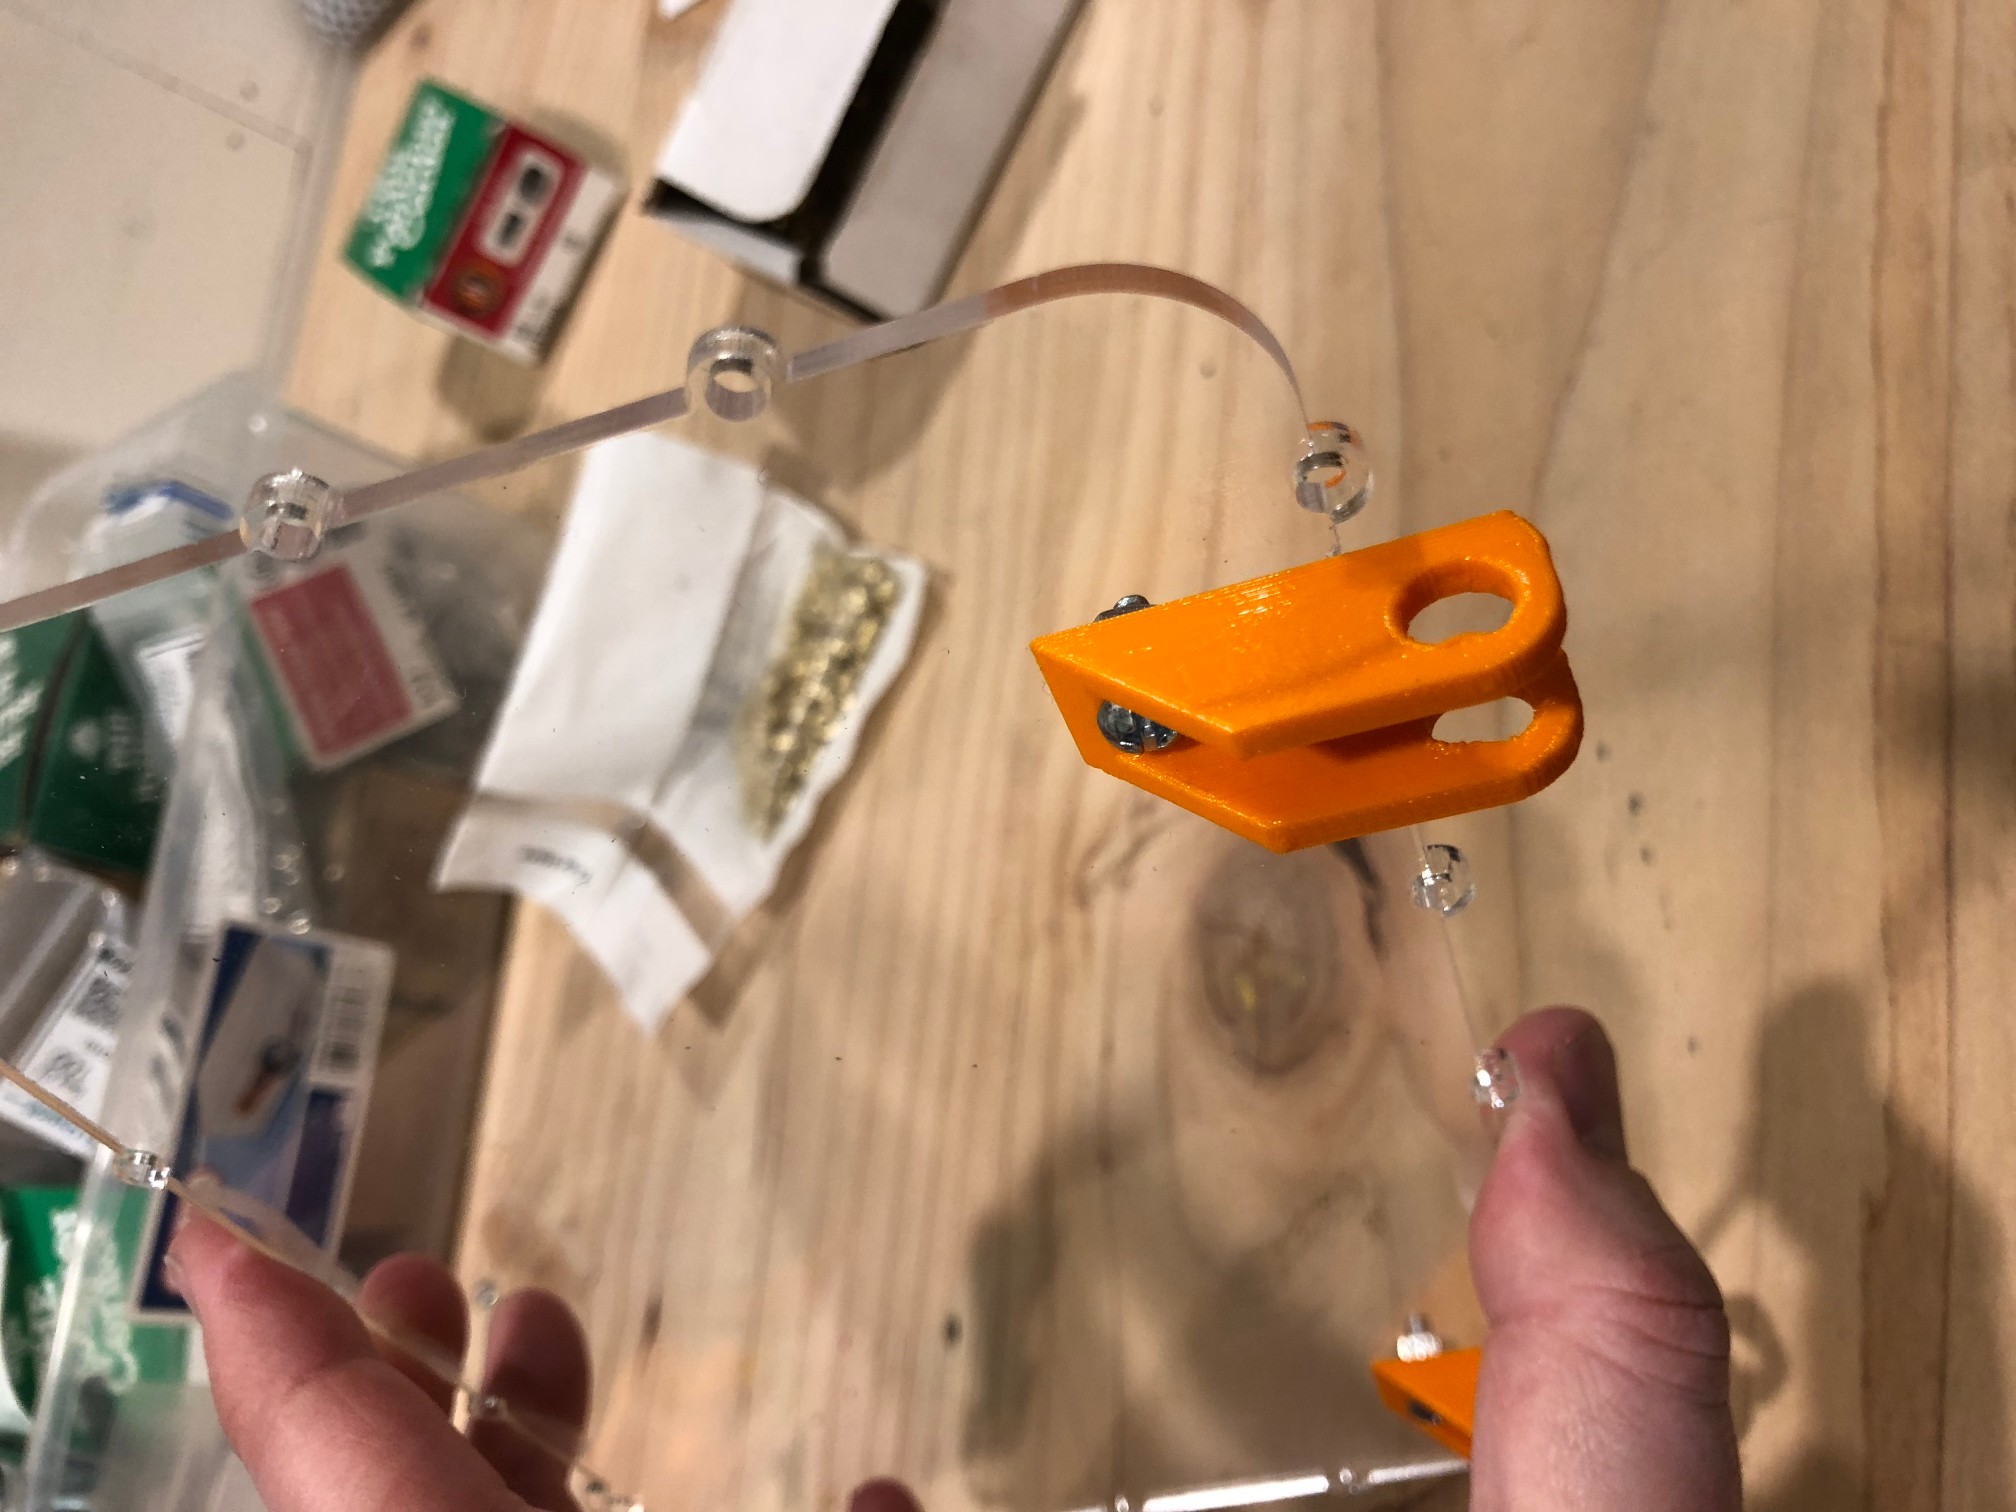
Install Hinge Tabs
Install the hinge mounting tabs using 6-32 screws / nuts

Cover Gasket
Install the cover gasket by pushing down firmly and work around the outside of the enclosure body.
Cover
Install the cover by inserting two 1/4 x 1″ machine screws and nuts thru the hinges.

Thumb Screws
Push the 6-32 x 1/2″ hex screw into the body of the knurled thumb body and install the cap into the opening on top. You may need a pliers to apply pressure and it should press snugly in and hold.

Insert 6-32 hex nuts
Gently! insert the 6-32 hex nuts into the provided slots where the thumb screws will thread into. You may need to take a exacto knife and clear out the opening to help the nut slide in easier.
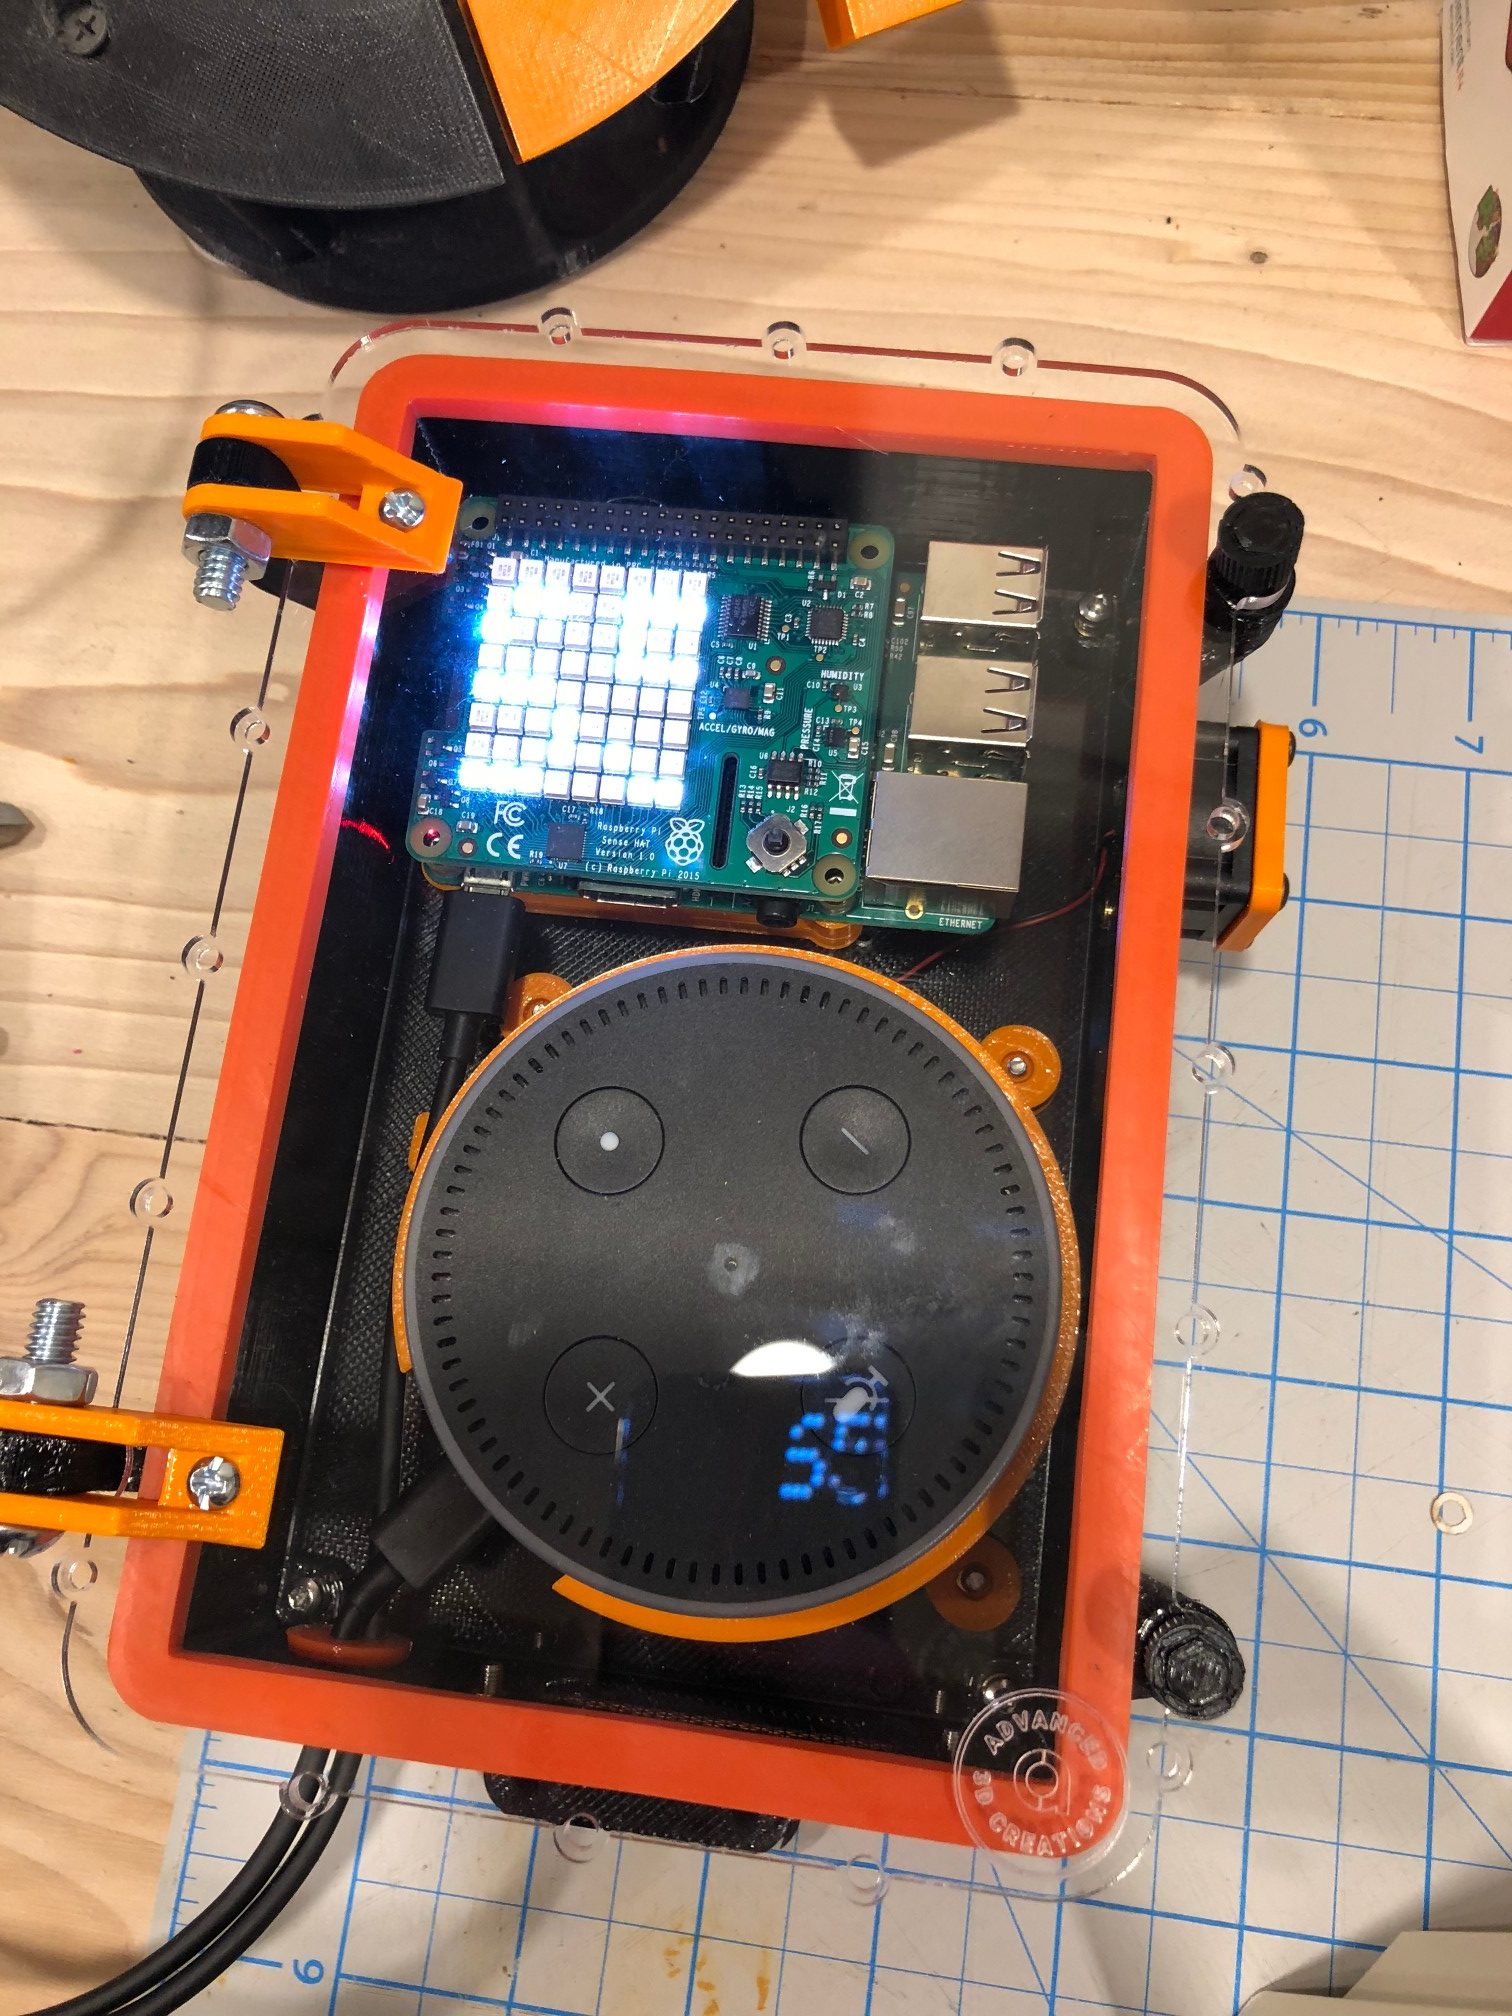
Power Up!
Power up everything and make sure the fan runs by putting your ear next to it. If you hear a heavy clicking noise it may not be working right.
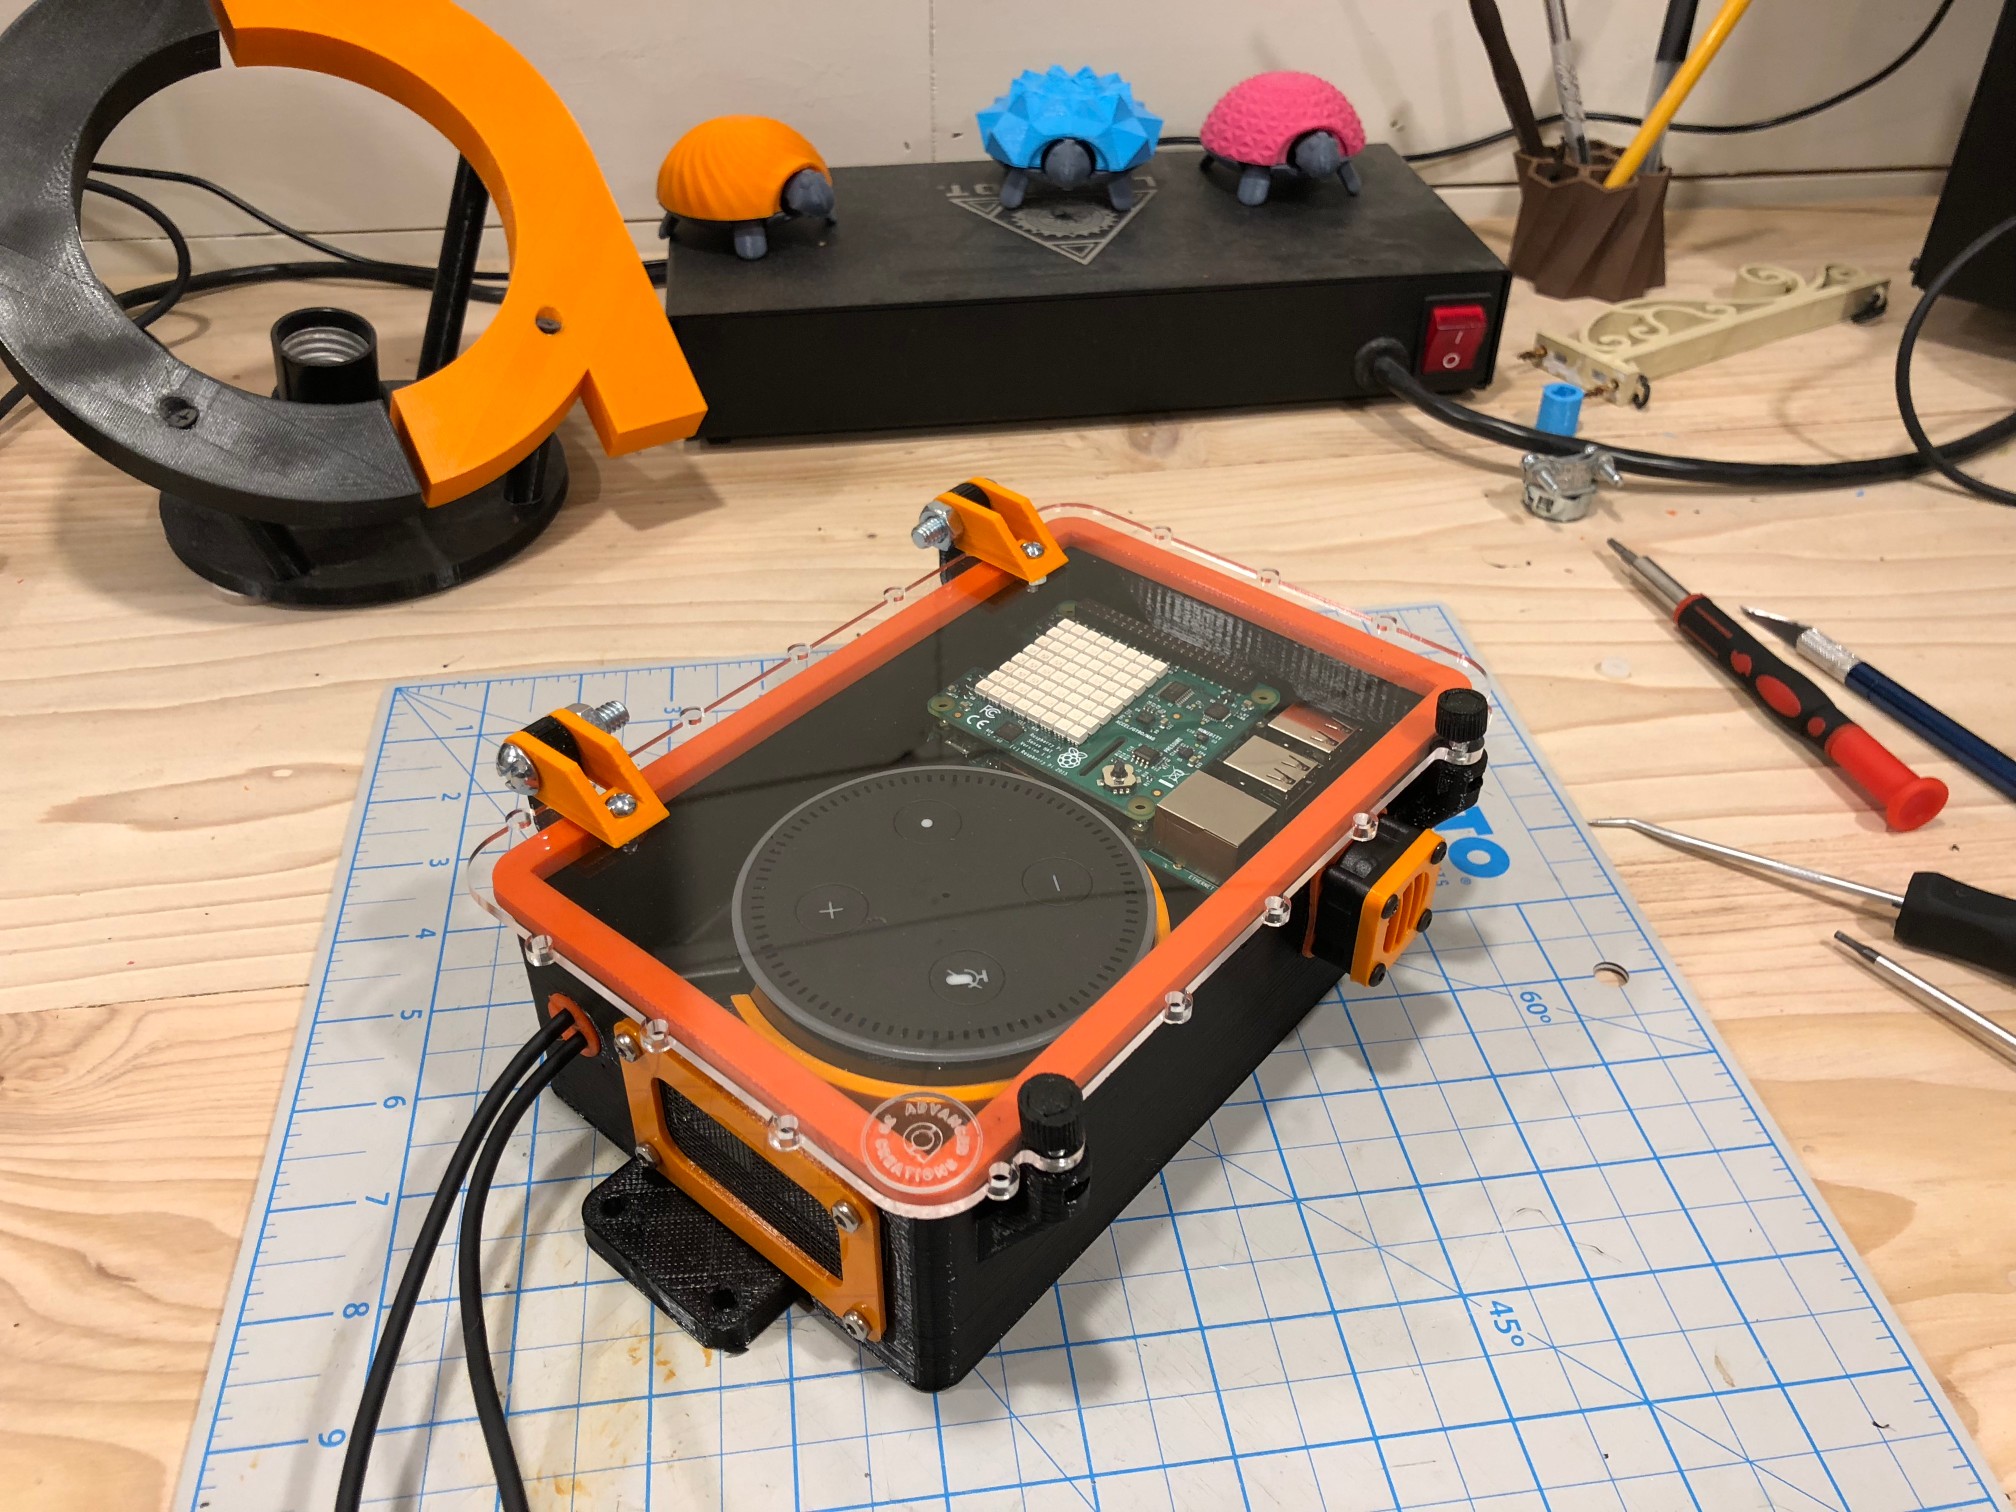
All Complete
WEATHER STATION PROJECT:
To make the raspberry pi into a weather station I followed the tutorial here: https://www.hackster.io/uladzislau-bayouski/horus-the-weather-station-f40ee9
I also modified the weather_station.py code to include a correction factor since the raspberry pi and echo dot produce heat inside the enclosure even with the fan installed the temperature can be about 14 degrees Fahrenheit higher than the actual temperature. I’ve included the code file along with the files on Thingiverse. Good luck and Enjoy!